Button Slide Enclosure
Remember the Easter Carrot Treat Holder I posted earlier this month? Many of you wanted to know how to make a Button Slide Enclosure. So, here you go. I’ll post the highlights here. You’ll find a link for the PDF with step-by-step instructions toward the bottom of this post.
These instructions are only for the Button Slide and assume you already have a project started.
Supplies:
- Large Button, quantity 1 (large holes work the best). If you plan on decorating with extra ribbon, make sure your button has 4 holes.
- 12″ to 15″ Decorative Ribbon
- Circle punch from Itty Bitty Shapes Punch Pack (#118309) or standard 1-hole Office Punch. Find them in the office supply aisle of most stores.
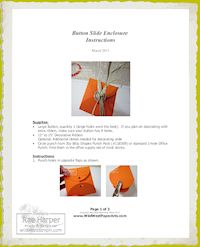
1) Punch a hole in opposite flaps of your project.
2) Thread ribbon through both holes as shown.
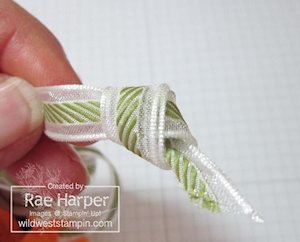
3) Tie an overhand knot with the ribbon ends.
4) Make sure the button slides up and down freely.
And there you have it, a quick and easy Button Slide Enclosure.
Click here to download the PDF including a simple way to decorate your button slide with additional ribbon.
Happy Crafting!


Pingback:Elegant Mother’s Day Bouquet | Wild West Paper Arts