Sent With Love Part 2
 Here we are, Sent With Love Part 2 of a personal challenge. Today is the day to create a masculine themed card with the same product as yesterday, (Part 1 Feminine). This project was a little more challenging than I thought it would be. But then, that’s what the challenge was for…. getting product out of the box and getting hands dirty.
Have you ever struggled with “Crafter’s Block”? That’s how this project made me feel. I did a Facebook post today with a quote from Steve Martin and a motivational panel from Edwin Land on that exact topic. You can see it here Facebook Post. It would be fantastic if you’d comment and like Wild West Paper Arts while you’re there.
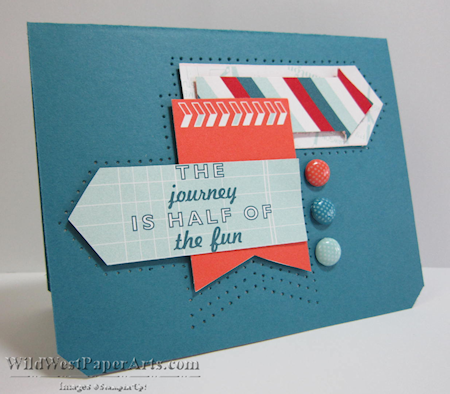
On to the project. The first thing to do is layout the banners. The idea running around in my head was “The Sky’s The Limit” for a graduation card. Showing positive movement was key to the layout.
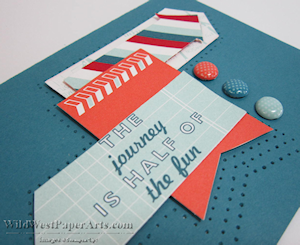
 After placing the banners, but before affixing them permanently, the paper-piercing was applied to fill in some of the emptiness. Ribbon and scallops just wouldn’t do. There are no paper-piercing templates for these shapes. They are easily made by using the Essentials Template. After the preliminary piercing is done, remove the template and deepen the holes with the piercing tool alone. The placement of the three In-Color brads makes it complete.
Now, for the inside.
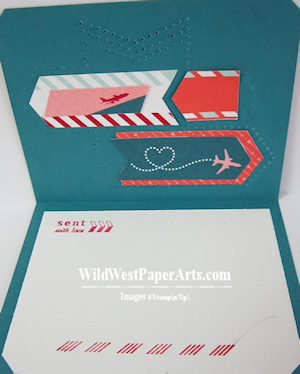
 If you remember yesterday’s post, I decorated the Reverse Paper-piercing on the inside. Same here. A little more challenging but everything fit. Amazing since it wasn’t planned. You may wonder why the brads don’t show on the inside. Snip off the prongs and adhere them to the card, a common practice for me.
Here’s a picture of the complete inside. Another idea for this card, gratitude, Father’s Day or a birthday. A simple, handwritten statement like “You mean the world to me” will make this project work for many events.
And there you have it. Part two of a personal 2-part challenge to myself. Hope this challenge has inspired you to use your Sent With Love Bundle. Now that I’ve worked with it a bit, you’re sure to see more with these unique items. There’s a 3D item in the works and a series of note cards and tags.
What projects would you like to see?
Click for the Nuts and Bolts to this project.
Stamps & Designer Paper: Sent With Love Bundle (#132851) or Stamp Set Alone (#131847); Ink & Coloring: Classic Ink (Real Red #103133); Paper: Card stock (Island Indigo #122923, Whisper White #100730); Designer Series Paper (Sent With Love #132182 or in the Bundle #132851); Embellishments: In-Color Designer Printed Brads (#122940); Tools: Paper Snips (#103579), Stampin’ Trimmer (#126889), Piercing Packs (Essentials #126187), Paper-Piercing Tool (#126189), Stampin’ Pierce Mat (#126199); Adhesives: Glue Dots® (#103683), SNAIL Adhesive® Tape Runner (#104332), Stampin’ Dimensionals (#104430).
Thank you for stopping by for
Sent with Love Challenge
Part 2
 Don’t forget, save 20% by the Bundle!
Sent With Love Bundle Special (#132851)
Ends April 30, 2013


I love how you have used this stamp bundle to create a masculine card! Thanks for sharing!