Fall Flip Flap Fancy Fold
 Creative Creases Challenge #42 is up and the design team is here to inspire you. Did you join us for the last challenge? If so, great! If not, there’s no time like now to enter.
My card today is a Fall Flip Flap Card. I’m not sure if that’s the correct name for the fold but it sure makes sense.
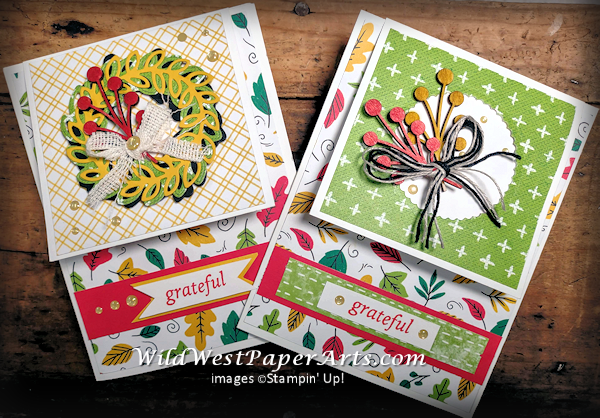
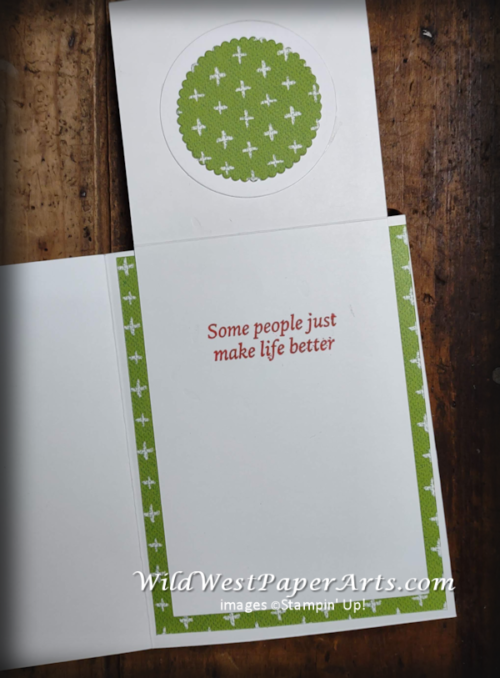
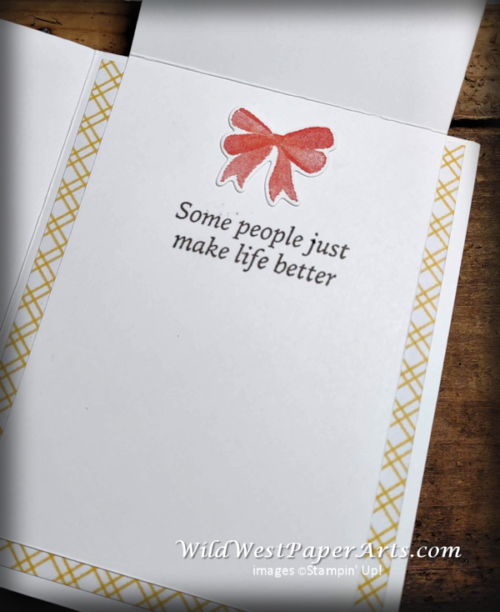
Just flip the flap up to open the card.
 |
 |
Fall Flip Flap Fancy Fold Nuts & Bolts:
Paper Cuts & Scores for basic card:
- Card base Cardstock: 5-1/2″ x 8-1/2″, score at 4-1/4″
- Flap Cardstock 2: 3-1/2″ x 8-1/2″, score at 5-1/8″
- Designer Series Paper: cut 2 @ 4″ x 5-1/4″
- Designer Series Paper: cut 1 @ 3-1/8″ x 3-1/4″
Basic Assembly:
- Adhere the 4″ x 5-1/4″ DSP to the outside and inside of the card base.
- Stamp desired sentiment on the large side of the Flap Cardstock.
- Adhere the Flap piece to the inside of the card making sure to line-up the score line with the inside top edge of the card base.
- Adhere the small piece of Designer Series Paper to the small end of the Flap.
- Close the card and decorate as desired.
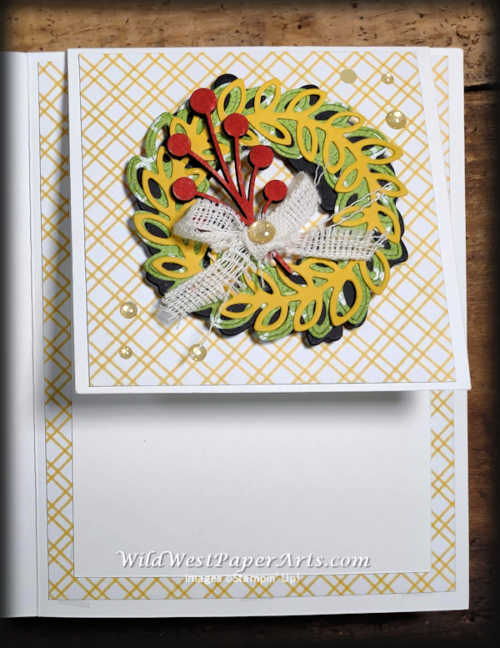 |
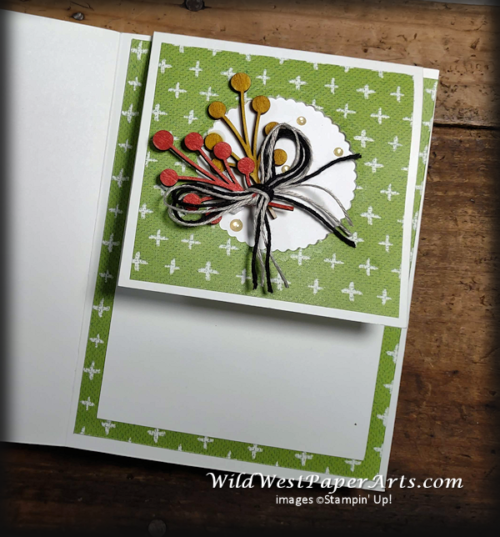 |
You’ll notice I’ve used the Texture Elements again. These little wooden embellishments are so versatile. They’re easy to color with Stampin’ Write Markers and add the perfect touch. Adhering them can be a challenge. In the photo below, you’ll see tiny pieces of mini-dimensionsals to support them.
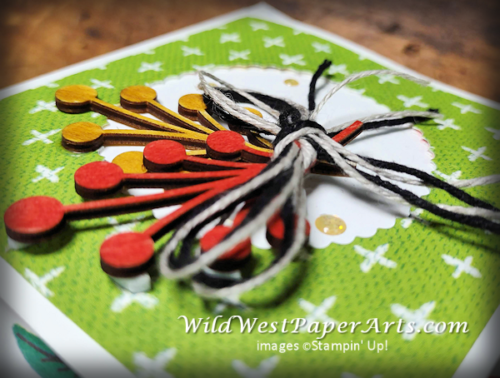
Now, get out your trimmers, adhesives, stamps and paper. It’s your turn to create your fancy fold.
Here’s the link to enter the challenge – Enter Here
Have a wildly creative day!


Click to shop 24/7!
Fall Flip Flap Fancy Fold Product Showcase:

What beautiful cards! I love the flip flap card design and will have to give that a try soon! Thanks for sharing the instructions.
Thank you Carrie Ann… and, you’re very welcome
What a fabulous fall flip flap cards, Rae! These look so fun to make and a wonderful way to use designer papers, too! The wooden elements are so cute and perfect on an autumn card. Hope you have a great weekend!
Thank you Debbie!