Creative Creases Rainbow
 Welcome to another Creative Creases Anything Goes (with a fun fold) Challenge. We hope to inspire and challenge you to step outside of the normal. Edition #55 where we challenge you to put a few extra creases in your projects.
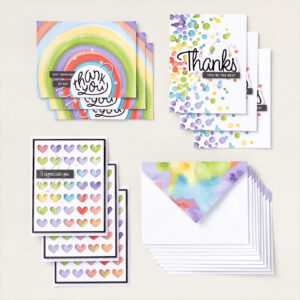
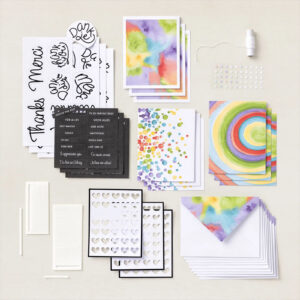
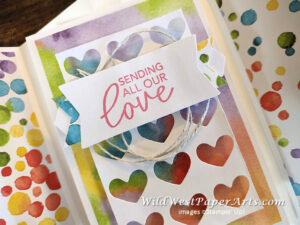
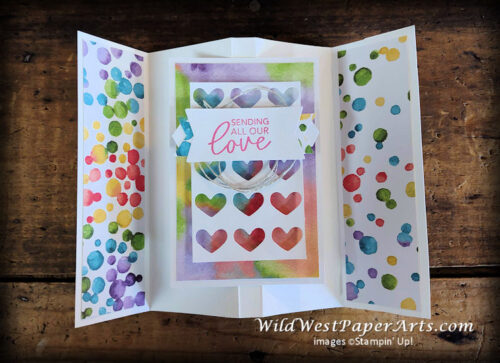
My project today is similar to one I created for Creative Creases #52. I called it the Bouncing Bunny. The actual name for the fold is a “Flying Seagull”. This card is a modified version of that card. It’s smaller and fits in an A2 envelope. This version also takes advantage of the Saying Thanks Kit (#162361). Stampin’ Up! kits are a real time-saver!
WARNING: Creating this kit will result in the destruction of all or part of your Saying Thanks Kit. You’ve been warned.
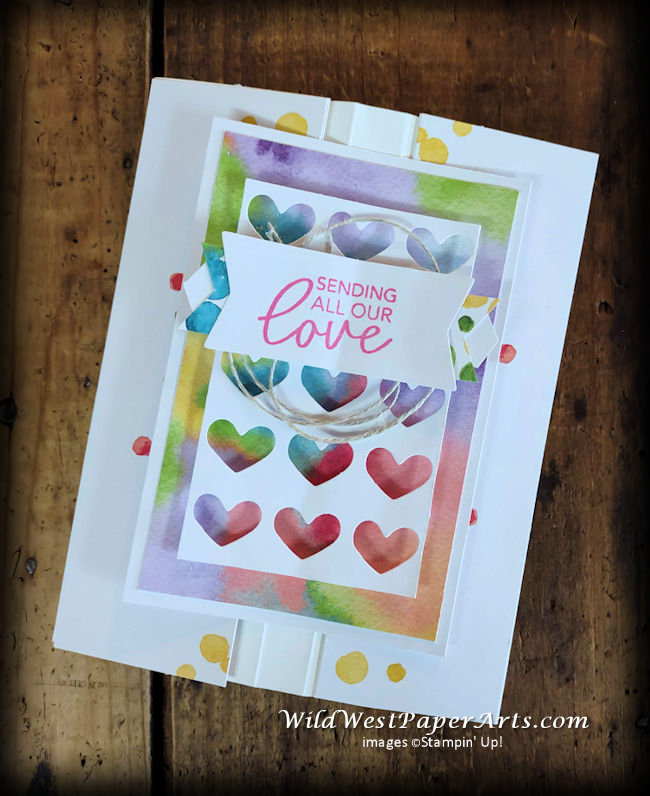
So let’s get started.
Starting with the kit….
 |
 |
Creative Creases Rainbow Nuts & Bolts
Paper Cuts:
- Card base – Basic White 5-1/2 x 7-7/8″; Scored at 1-1/2″, 3-5/8″, 4-1/8″ and 6-1/8″
- Focal Piece – Basic White 3″ x 4-1/2″ and 1″ x 2-1/4″; DSP – 2-3/4″ x 4-3/4″; Heart Piece – 2-1/8″ x 3-3/4″
- Rainbow Spot Card – cut 4 pieces 1-1/2″ x 5-1/4″ each
Construction:
- Fold and burnish card base on score lines. Then flatten out again.
- Adhere the 4 pieces (1-1/2″ x 5-1/4″ to the outside panels (both sides)
- Create the focal piece panel –
- Center and adhere rainbow wash piece to basic white piece
- Center and adhere to heart piece with dimensionals.
- Create greeting label on basic white scrap. Flag both ends, Decorate the ends of the label with scraps of colored paper
- Attach to Focal Piece with Dimensionals.
- Adhere the focal piece to the center of the card base with strong adhesive.
- You’re done!
Now, it’s your turn. Create your fun fold and enter the challenge.
Thank you for visiting and remember…
Have a Wildly Creative Day!
Click to shop 24/7!
Creative Creases Rainbow Product Showcase:


I love it, what a happy card!
Thank you!
Oh, Rae! I love this flying seagull card! Love how you used the rainbow kit for the paper. Such a cheerful card! Thanks for the tutorial for the A2 size. I really need to try it soon. Hope you have a wonderful weekend!
Thank you Debbie. This, smaller version is much easier than the first one I did.