Masterfully Made Creative Creases #62
Welcome to Creative Creases Challenge #62. Where did the last two weeks go? If you’re in any part of the United States, you’re probably sweltering right now. Time to get away into the craft room. Let my fellow Design Teammates inspire you to create something wonderful. Don’t forget to enter your finished masterpiece in the current Creative Creases Challenge…. #62.
Let’s get started, shall we?
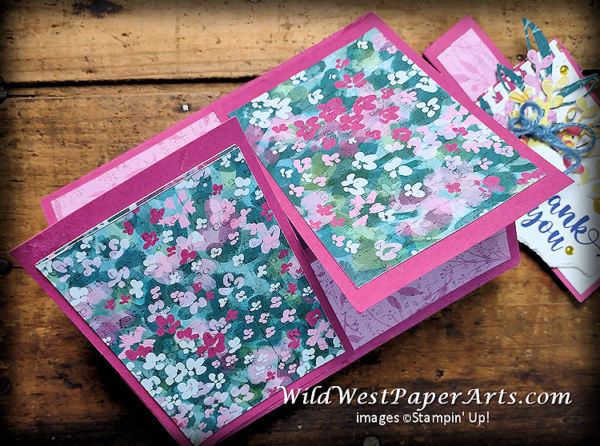
I don’t know the official name of this fold so let’s call it a Flip Flop Gate Fold. If you know the name, please leave it in a comment below. The original version of this card didn’t have a belly band and the focal piece was adhered to the left panel. This made the opening awkward, to say the least. Here’s the altered version.
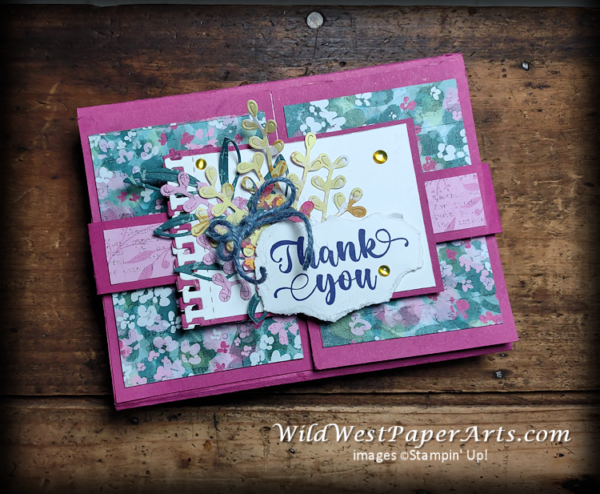
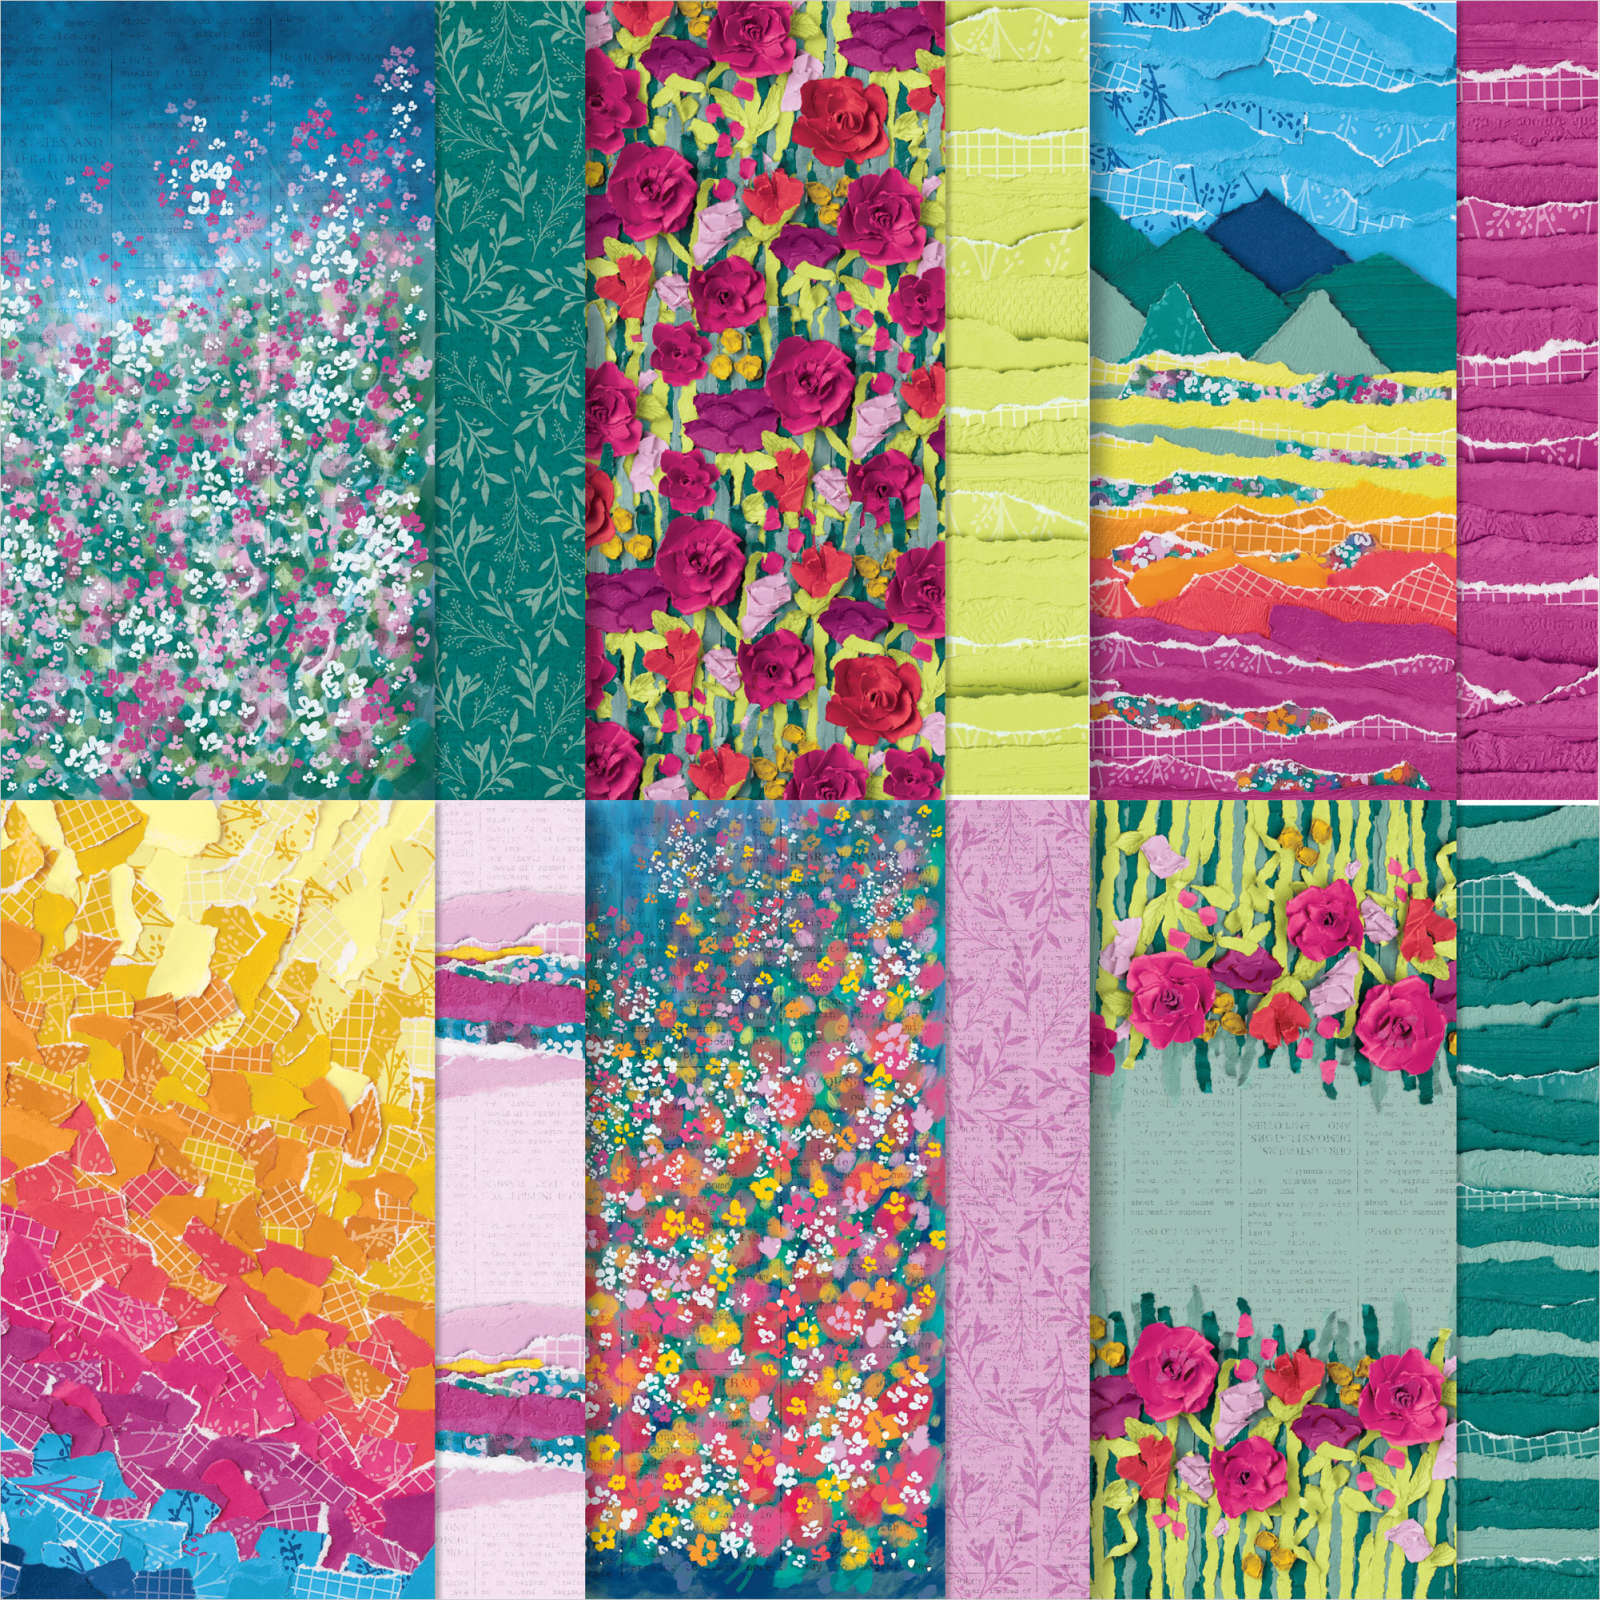
To say I love the Masterfully Made DSP from Stampin’ Up! may just be the biggest Wild West understatement of the year. So full of vibrant color, not to mention the faux tearing and artistry. Love it! Fair warning, you’ll probably see a lot more of it.
Create some fun edges with these Gorgeously Made Dies (also part of the Masterfully Made Suite).
 |
 |
| Masterfully Made DSP | Masterfully Made DSP |
Most of the time you’ll see this card created in the portrait orientation. I decided to flip it on it’s side to for a different look. You can also get a different look by closing it differently. The downside of the landscape version is not being able to stand the card up without a support.
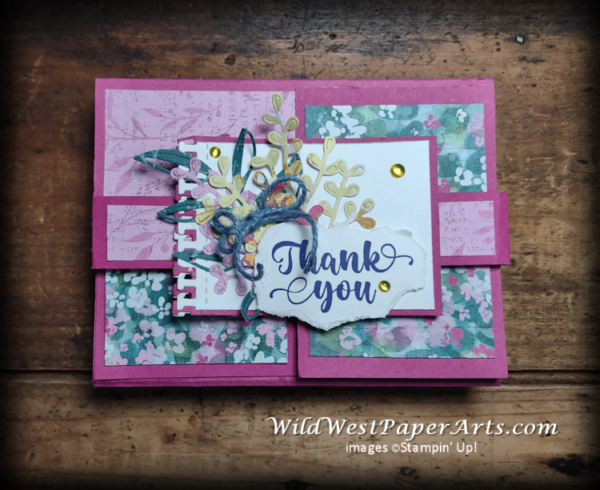
Opening the card…..
Leftovers … After the outside was done there were a few stray die-cuts leftover. No reason to waste them right? I just love leftovers.
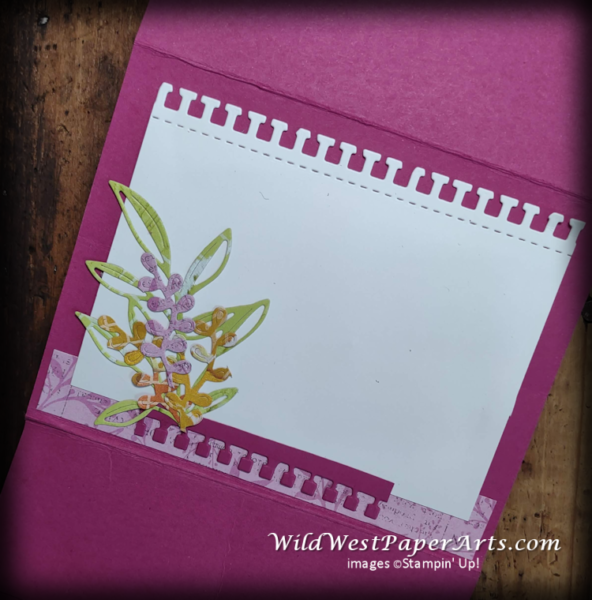
And that’s it.
Click to Leave a Comment
Nuts & Bolts
These instructions are for creating a standard A2 size card. 4-1/4″ x 5-1/2″
Paper Cuts:
- Berry Burst cardstock: 5-1/2 x 8-1/2 score at 2″ and 6-3/8″ Card Base
- Berry Burst cardstock: 2-3/4″ x 4″ (2 pieces) for mats for flaps
- Berry Burst cardstock: 2-1/2″ x 3-3/4″ Focal Piece bottom layer
- Berry Burst cardstock: 1″ x 8-1/2″ Belly Band
- Floral DSP: 2-1/2″ x 3-1/2″ (2 pieces) for flaps
- Pink Floral DSP: 1-1/2″ x 5-1/4″ (2 pieces) for sides of card base
- Pink Floral DSP: 3/4″ x 5-1/4″ (2 pcs) Inside border strip and back of belly band.
- Pink Floral DSP: 3/4″ x 1-1/2″ (2 pcs) front of belly band
- Basic White cardstock: 3-1/2″ x 4-1/4″ for inside
- Basic White cardstock: 2-1/2″ x 3-1/2″ for focal piece
- Basic White cardstock Scrap for greeting
- Scraps of floral DSP for die-cuts
Construction:
- Card Base: Fold and burnish #1. Adhere Pink DSP strips (#6) to outside front of card base.
- Create the Flaps: Layer and adhere Floral DSP (#5) to Berry Burst cs (#2)
- Attach the Flaps: Adhere one flap to the bottom of left front of card and one to the top right. Make sure they line up with each other.
- Create the Belly Band: Wrap piece #4 around the card creating folds. The band will NOT meet in the middle. Burnish. Adhere pink floral DSP (#7 & #8) to belly band.
- Create the Focal Piece: Die cut both #3 & #10 with appropriate die. Adhere to each other. Die cut various leaves. Adhere to left side of focal piece. Stamp greeting on a scrap piece of Basic White (#12). Tear edges. Adhere with Stampin’ Dimensional. Embellish with Gems and Jute Twine. Adhere to Belly Band.
- Create the Inside: Adhere leftover #7 to bottom inside of card. Die Cut top edge of #9. Adhere over strip with die cut portion at the top. Use extra die-cut pieces to decorate the inside.
Now it’s your turn. Create this or another Fun Fold and enter Creative Creases #62.
Thank you for visiting.…
Have a Wildly Creative Day!



Thank you Carrie Ann!
What a gorgeous floral card! I can see why you love the Masterfully Made DSP so much! It’s really stunning! And I’m with you on not wasting any leftover bits!