Twist and Hop with Fun Folds Blog Hop
Welcome to the Fun Folds Blog Hop with Independent Stampin’ Up! Demonstrators. We’re so glad you decided to hop by. You’ll find a line-up after my project to help you hop from blog to blog. Sit back and enjoy the show.
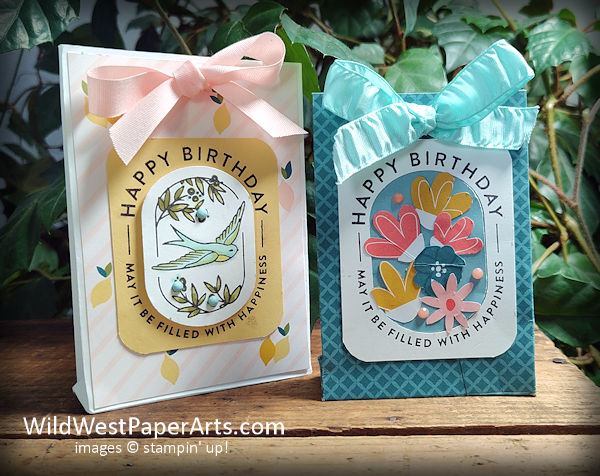
Based on my title, I bet you’re expecting some sort of a twisted fold card. Guess again…. it’s actually a treat holder called “Bag-A-Lope.” (bag made from an envelope). Why the title? I just like the way it sounds. Enough silliness.
These little bags feature products only available during Sale-A-Bration 2024. Psst… In case you didn’t know, it ends on February 29th this year.
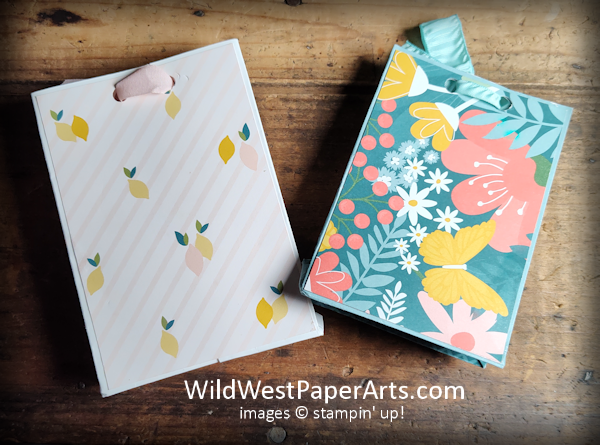
Cuteness continues on the backside as well.
The bag on the left is created from a standard A2 envelope from Stampin’ Up!, layered with a piece of DSP from Delightfully Eclectic 12×12 DSP, free during Sale-A-Bration with a qualifying order.
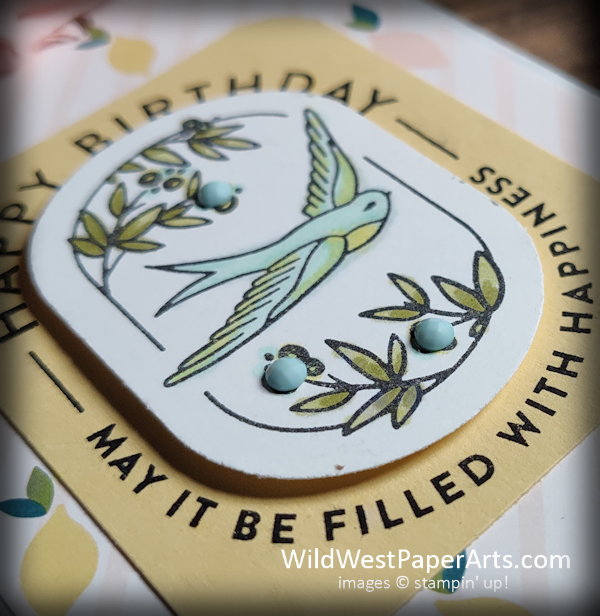
The close-up above reveals another FREE Sale-A-Bration items…. Opaque Faceted Gems. The table below shows yet another FREE item…. Pool Party 5/8″ Crinkle Ribbon.
The stamp set, Filled With Happiness (Item #162915) couldn’t be more perfect for this project. Step it up with the Modern Oval Punch (Item 162234).
|
|
|
|
|
|
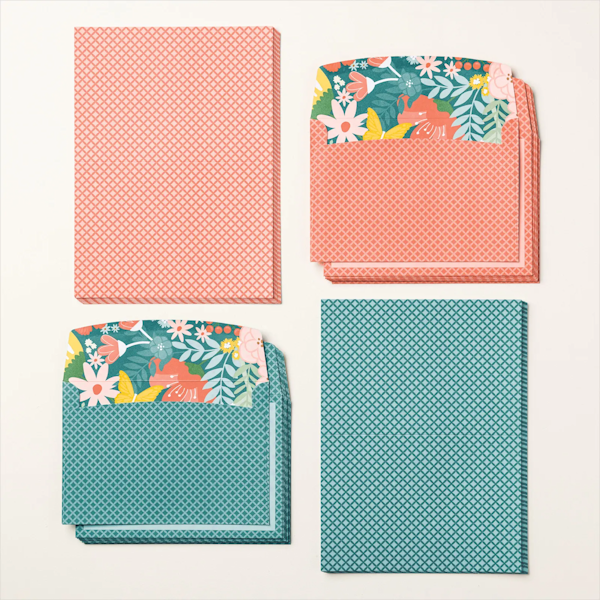
The bag on the right is made from another Free Item … Sweet Thoughts Memories and More Cards and Envelopes. I used for our January Hop…
Nuts & Bolts
Now for the fold. Just the basics.
The projects shown here are created from an A2 envelope. The reason for the size difference is covered below.
- Seal the envelope flap making sure it’s securely fastened across the entire flap.
- Create the Opening: Trim a small amount off of one end.
- Adhere any patterned paper here.
- Score: Score an equal amount on the three closed sides. The wider the score distance, the deeper the bag will be. For instance, the smaller bag above only has a 3/4″ score; whereas the larger envelope only has a 1/2″ score.
- Fold and burnish all score lines with a Bone Folder
- Pop the envelope into a bag, bringing the bottom corner squares into a point on each side. If done correctly, you will have little triangles on each side of the bag bottom.
- Fold the triangle flaps to the bottom of the bag.
- Apply extra-strength adhesive to flaps that will fold in to the bottom of the bag.
- Embellish.
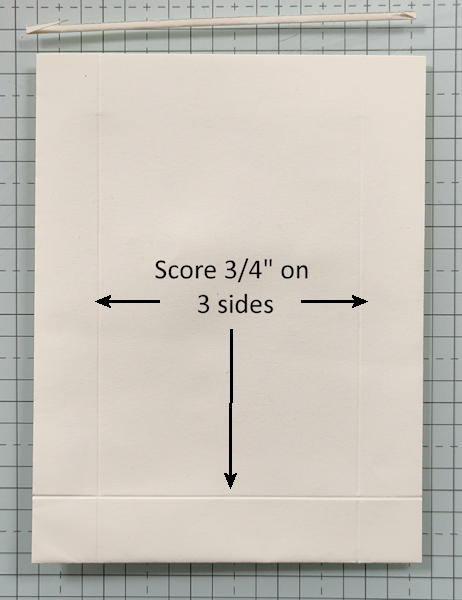
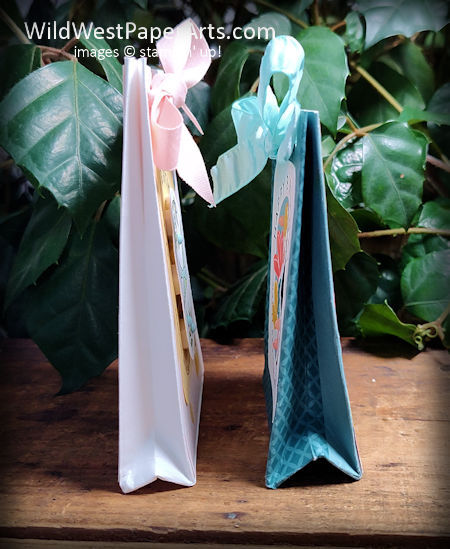 Side Views |
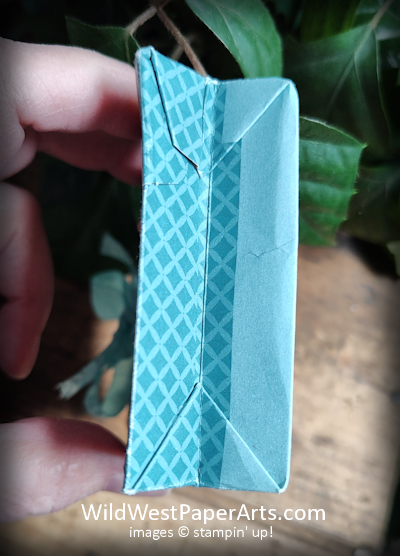 Bottom View |
The most important tools for this project are:
- Scoring Tool – I use the Stampin’ Up! Trimmer (Item 152392). It comes with a score blade right on the guide. Easy!
- Bone Folder – Item #102300
Practice on an older envelope first. The bottom can be tricky. Don’t despair…. the second one will be perfect! If you need a full tutorial, with picdtures, you can find one here: Bag-A-Lope tutorial
Don’t forget to visit my friends below.
Lineup
- Karen Finkle
- Shirley Gentry
- Lisa Ann Bernard
- Debbie Mageed
- Kathleen Ondus
- Tara Carpenter
- Beth McCullough
- Sue Jackson
- Mary Deatherage
- Rae Burnet
- Maria Jose Mench
- Rebecca-Jo Unwin
Thank you for visiting.…





What perfect timing! I NEED little gifty bags and these are darling! TFS!!
Thank you Mary!
Really cute bag! I will try it out for gift card bags. Thanks for sharing!
Thank you Ruth….. so easy!
Rae, I have never seen a Bag-a-lope! These are amazing! I will, definitely, be putting this on my list to try! Thank you very much for sharing!
Thank you Kathi. So glad you like these. Old is new again!
So cute, Rae! Love all of the details, too. I have to admit that I have never seen a bag-a-lope before. I have a TON of envelopes that I could use for this adorable project. Thanks for joining the blog hop this month.
Thank you Debbie. A great way to use up stray DSP, ribbon and embellishments too!
These are adorable! Bag-a-lopes were very popular back when I first became a demo, more than 20 years ago and I think it’s wonderful to see them again! I may have to try these with my club girls! TFS!
Thank you LeAnne! I remember those days. Thought it time to re-introduce them for Easter.