All About the Kids – Pals Blog Hop March 2024

Welcome to the Stampin’ Pretty Pals’ Blog Hop – March 2024!
This month, the theme is “It’s All About the Kids.” We hope that you will be inspired by the creations the Pals are sharing with you! Then, you will find the lineup at the end of my post to help you “hop” along from Pal to Pal.
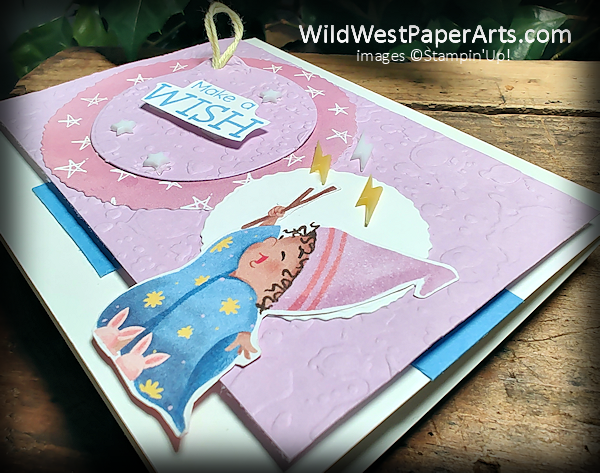
“Hooray for Surprises” bundle combined with “Just Kiddin” Designer Series Paper is definitely “All About the Kids.”
The magic of interactive cards is perfect for a kiddo’s birthday.
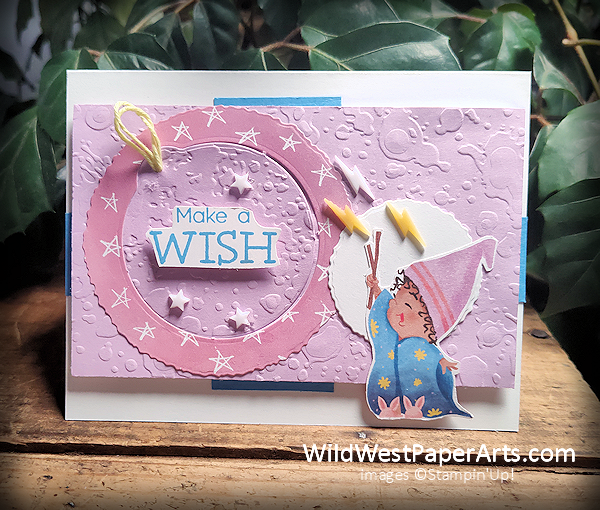
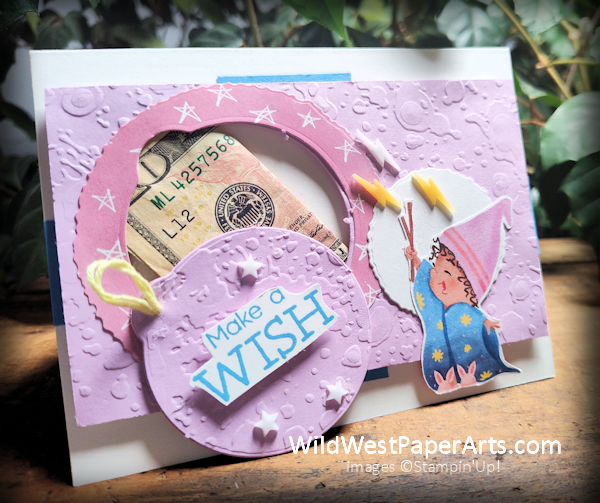
A little tug on the yellow string reveals a surprise.
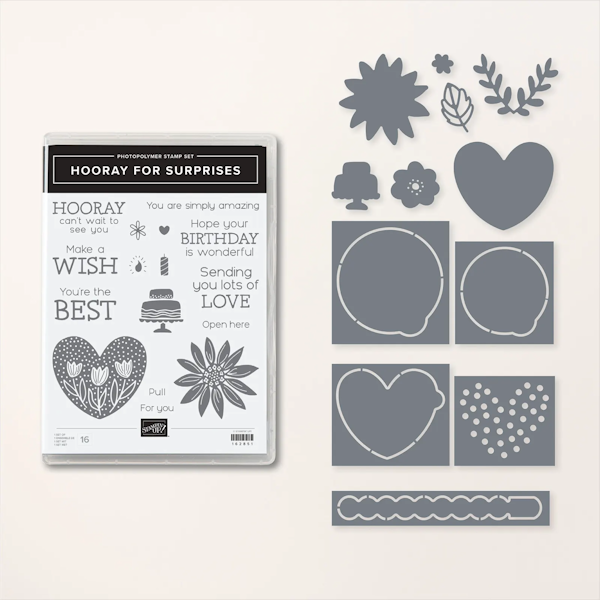 Hooray for Surprises Bundle |
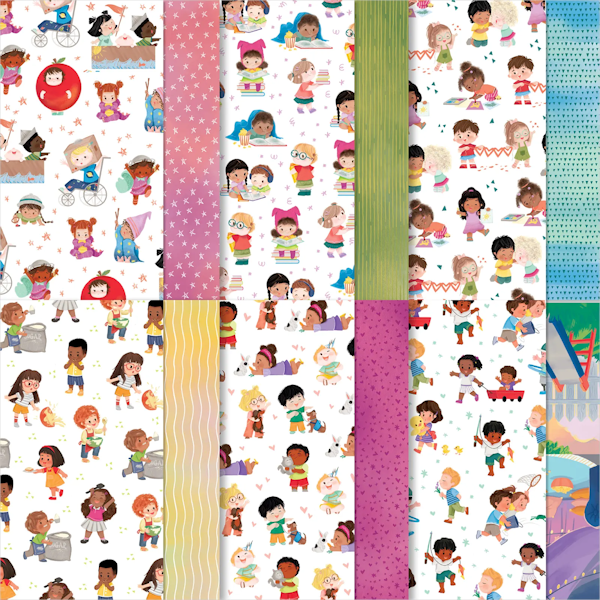 Just Kiddin’ Designer Series Paper |
Click to Leave a Comment
Nuts & Bolts
Paper Cuts:
- Card base – Basic White Thick cardstock 5-1/2? x 8-1/2? cardstock. Score at 4-1/4″, plus scrap for circle & greeting
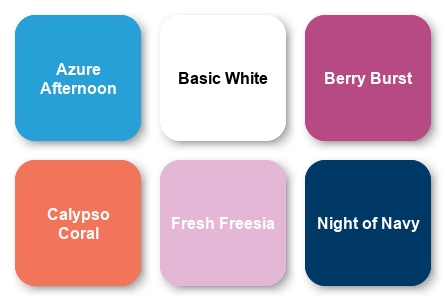
- Layer 1 – Azure Afternoon cardstock 1/4″ x 1″ (2 pieces) plus 1/4″ x 1-1/2″ (2 pieces)
- Layer 2 – Fresh Freesia cardstock 3-1/4″ x 5-1/4″
- Designer Series Paper – Just Kiddin’ 4″ x 4″ plus the little magician image (fussy cut)
Construction:
- Fold and burnish the card base
- Dry Emboss Layer 2 (Fresh Freesia Piece). Die-cut with interactive piece. Remove the die-cut piece from this layer. Punch a small hole in the tab and thread a loop of Baker’s Twine through the hole. Adhere ends to the back with liquid glue.
- Die-cut the Designer Series Paper (DSP) with a Deckled Circle just bigger than the die used in step 2 above.
- Now use the interactive die used in Step 2 above to cut the Step 3 piece. This time DO NOT REMOVE THE DIE-CUT PIECE. It will remain intact.
- Line up the die-cut piece removed in Step 2 to the top of the matching piece in Step 4, adhere.
- Adhere the Fresh Freesia piece to the card base using Foam Adhesive Strips. Place the strips about 1/8″ from all four edges of the paper.
- Adhere the little Azure Afternoon cardstock strips under the edges of the Fresh Freesia piece. 1″ pieces are placed on the sides; 1-1/2″ pieces on top and bottom.
- Place the “gift” inside the space provided.
- Line up entire DSP piece over the hole in the Fresh Freesia layer. Adhere with liquid glue.
- Die-cut Basic White cardstock scrap with small Deckled Edge Circle. Adhere to front as shown.
- Stamp “Make a Wish” in Azure Afternoon Classic Ink on Basic White cardstock scrap. Fussy Cut and adhere to front with Stampin’ Dimensionals.
- Fussy cut little Magician. Adhere with liquid glue and Stampin’ Dimensionals as shown.
- Stamp sentiment on the inside of the card with Azure Afternoon Classic Inc.
- Embellish front with Stars & Lightening Bolts.
Finished Size: A2 (4-1/4″ x 5-1/2″)
Click to Leave a Comment
More inspiration awaits, so use the lineup below to visit the rest of the Design Team. Then, please mark your calendars for our next blog hop next month, when our theme will be “See How My Garden Grows.”
Until then, have fun in your craft space.
Stampin’ Pretty Pals Blog Hop
- Mary Fish at Stampin’ Pretty
- Tricia Chuba at ButterDish Designs
- Peggy Noe at Pretty Paper Cards
- Lisa Ann Bernard at Queen B Creations
- Stesha Bloodhart at Stampin’ Hoot!
- Debbie Mageed at Secrets to Stamping
- Su Mohr at Aromas And Art
- Debbie Crowley at expressively deb…
- Beth McCullough at Stamping Mom
- Sue Jackson at Just Peachy Stamping
- Rae Burnet at Wild West Paper Arts –—- Thank you for hopping to the end!
Thank you for stopping by…..
Have a wildly creative day!
Click to Leave a Comment
It’s All About the Kids Product Showcase:

Wow, Rae! This card is perfection!! I love everything about it. And to make a fun place for a gift – there isn’t a kid on the planet who wouldn’t love this card!!
Thank you Debbie!
What a fabulous idea! Now I NEED this bundle. So fun!
Thank you Lisa. It IS a fun one.
Cute card! My grandsons will love it! Wish you had a video to go with it, sounds a bit complicated. Thanks for sharing.
Bette… Thank you so much for your comment. More importantly… your feedback! I’m working on setting up for videos. I agree, this one was hard to explain.
What a cute card!!! Great idea!!
Thank you Paula!
This is adorable, Rae! What a fun surprise!
Thank you Su!
Rae, the texture this card has is amazing. I love the colors, too.
Thank you Debbie.