Easter with the Stampin’ Up! Demonstrator Blog Hop
Welcome to the Fun Folds Blog Hop with Independent Stampin’ Up! Demonstrators, March 2024 edition. We’re so glad you decided to hop by. You’ll find a line-up after my project to help you hop from blog to blog. Sit back and enjoy the show. You’ll have an opportunity to comment at the bottom of this project.
Let’s get started!
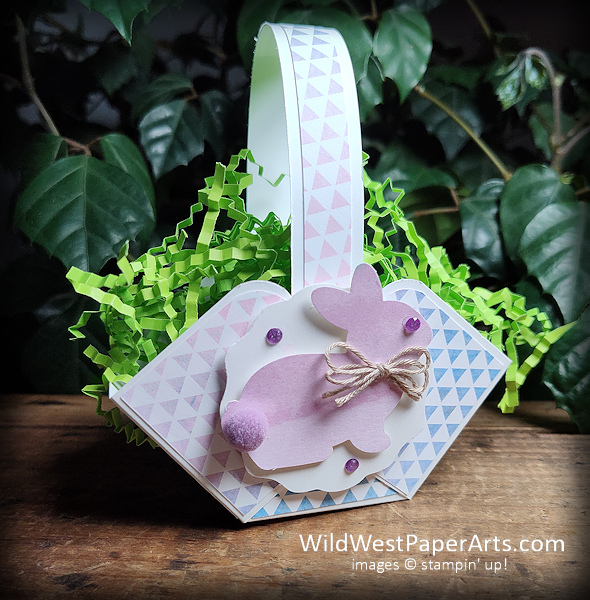
If you think you’ve seen this basket on my blog before, you’d be right! You’ll find a link to my original post (back in 2018) at the end of this one. They are so easy! Perfect for a last minute Easter or Spring basket.
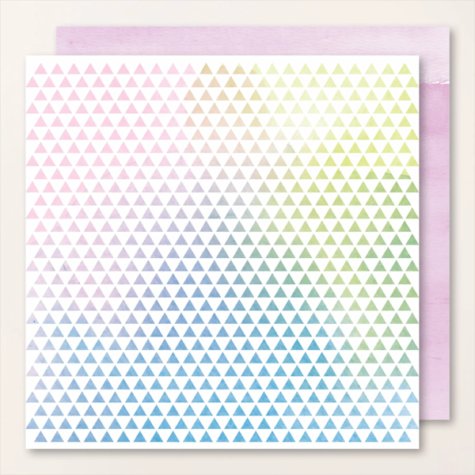
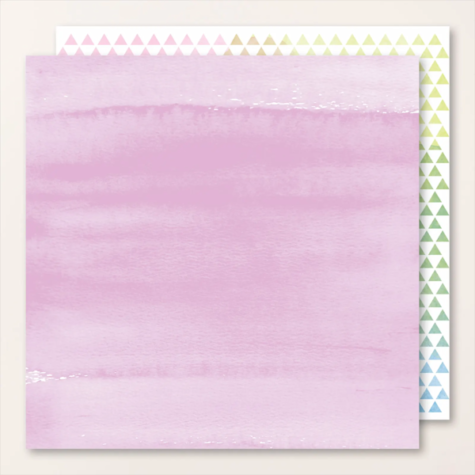
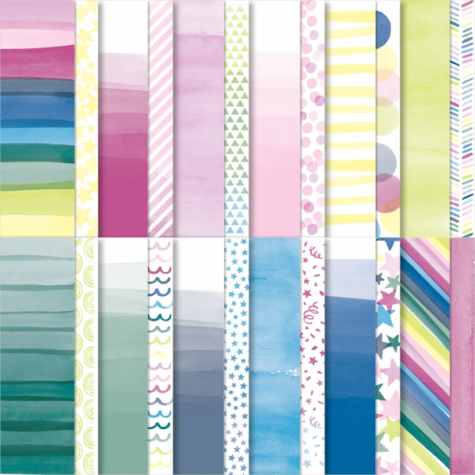
The Designer Series Paper (DSP), Bright & Beautiful 6″ x 6″, is retiring soon. Look at these beautiful, bright colors and designs.
Nuts & Bolts:
Supplies & Paper Cuts:
- Thick Basic White Cardstock – 6″ x 6″ (1 piece); 1″ x 8-1/2″ (1 piece); scraps 2 pieces approximately 2″ square
- Bright & Beautiful Designer Series Paper (DSP) (retiring soon) – 1-7/8″ x 1-7/8″ (8 pieces); 3/4″ x 8-1/2″ (1 piece)
- Decorative Circle Punch (retiring soon)
- Easter Bunny Punch (retiring soon)
- Corner Rounder Punch (retired)
- Purple Fine Shimmer Gems (retiring soon)
- Linen Thread
- Multipurpose Liquid Glue
- Stampin’ Dimensionals
- Tear & Tape
- Non-Stampin’ Up! items – Tiny cotton balls; Easter grass
Instructions:
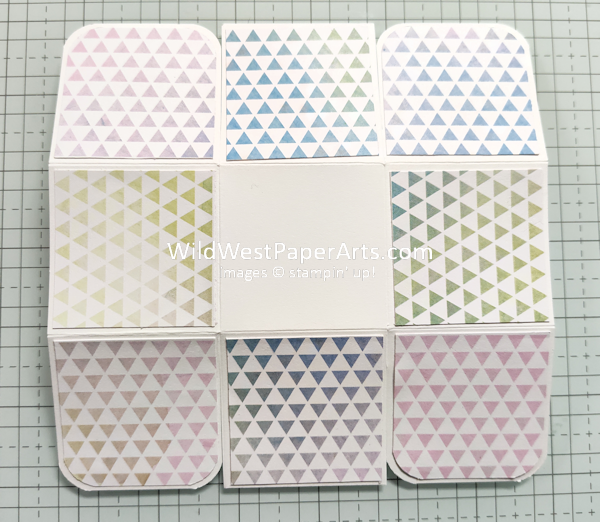
- Score 6″x 6″ piece of Thick Basic White Cardstock at 2″ and 4″. Turn the square 90 degrees and repeat. You’ll have nine 2″ squares if you’ve done it correctly. See picture below
- Cut the middle square on the both sides just to the score line. Do NOT cut it completely off. Repeat for the opposite side.
- Round two corners of the outside squares AND four of the DSP squares. (See below) Make sure to pay attention to any directional pattern on the DSP.
- Use Multipurpose Liquid Glue OR Stampin’ Seal to adhere the DSP squares to the basket.
- Fold an burnish all score lines.
- Create the basket handle by adhering the 3/4″ x 8-1/2″ DSP strip to the Basic White Strip with Tear & Tape.
- Fold up the basket using liquid glue to attach the handle and glue the sides.
- Use the Decorative Circle and Easter Bunny punches to decorate the basket sides. I used Stampin’ Dimensionals to build the decoration and attach them to the basket sides.
- Embellish with Linen Thread Bows and Purple Shimmer Gems.
- Fill with Easter Grass or shreds.
| Your basket will look like this at at step 5, before folding into a basket. |
 |
See the original basket from my previous post Picture Perfect Easter Basket.
Click to Leave a Comment
Lineup
- Karen Finkle
- Kathi Ondus
- Rae Burnet – You Are Here!
- Mary Deatherage
- Debbie Mageed
- Sue Jackson
- Shirley Gentry
- Lisa Ann Bernard
- Maria Jose Mench
Thank you for stopping by.
Have a wildly creative day!
Easter Basket Product Showcase:


Very cute baskets. Great for place settings at the table!
Kathi,
I completely agree! Thank you for your comment.
Rae
So cute, Rae! Love this sweet basket with perfect spring paper. Thanks for joining the blog hop this month!
Thank you Debbie. I love these baskets. So “last minute”.
love this!!! So cute
Thank you Paula. They are SO easy to make!
Oh, Rae, a purple bunny…it can’t get any better than that! I love his little cotton tail. So cute like Mary says for Easter dinner place setting.
Thank you Karen. Glad you like my purple bunny.
Ahhh-dorable! And thank you for the great instructions. This would be so stinkin’ cute as a place-setting for Easter dinner!!
Mary, yes they would. A great size too. Thank you for your great comment!