The Best There Is Fun Fold for Creative Creases #84
Welcome to Creative Creases Challenge #84 where Anything Goes with a Fun Fold! So glad you could stop by. What’s a challenge? Simply put, it’s a chance for you to create a project and enter it for a prize. In this bi-weekly challenge the prize is recognition and a chance to inspire others as well. Click the link below to look around and enter your own project. Lurkers are also welcome.
Clicking here takes you to Creative Creases #84 Challenge Page
My project is created using contents included in the May 2024 Paper Pumpkin Kit, “The Best There Is”
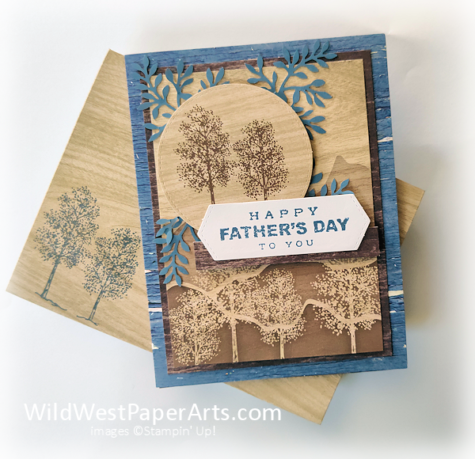
Doesn’t look like a fun fold? Look again.
 |
 |
All items used for this card came from the May 2024 Paper Pumpkin Kit with the exception of adhesives. I used Tear & Tape as well as Liquid Glue. You will end up using two of the cards as well as two envelopes to complete this.
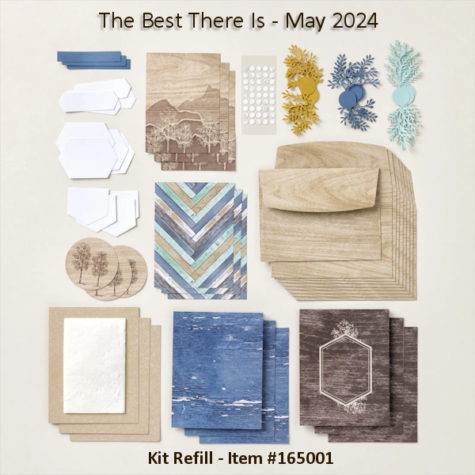
Oh No! You didn’t subscribe in time to get this kit? Although the full kit is no longer available, the refill can still be purchased by current subscribers. The refill kit contains everything except the stamp set and ink. Here’s a look at what’s included.
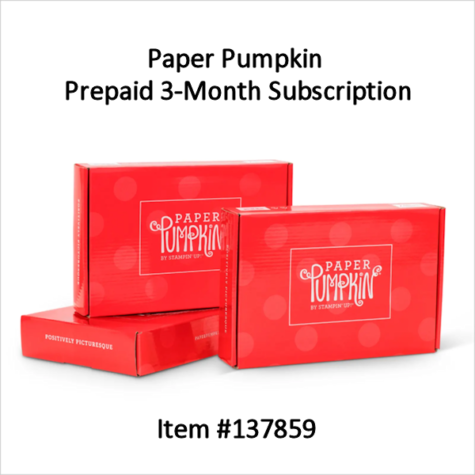
Good News! I have an extra stamp set and sealed Misty Moonlight Ink Spot FREE to the the first person who subscribes in time for the June 2024 Paper Pumpkin Kit (June 10, 2024) AND purchases this refill through me.
 Paper Pumpkin May 2024 The Best There Is Stamp Set |
Nuts & Bolts
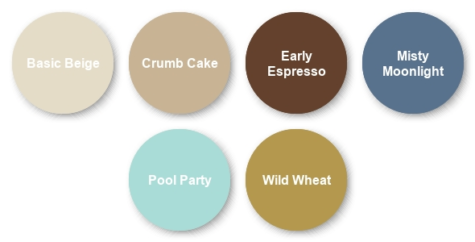
2024 May Paper Pumpkin Colors
Construction
- Create the card base:
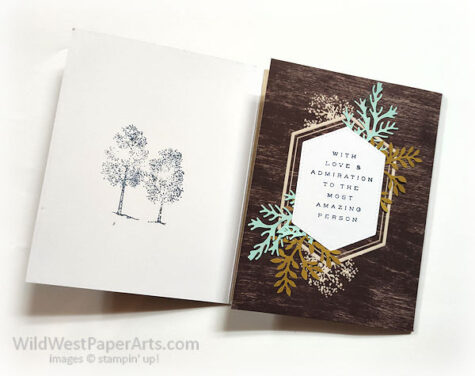
- Cut brown card base 1/4″ left of the score line with decorative frame panel on the right. Fold and burnish the on the score line. Attach to the inside right flap of a blue card with Tear & Tape.
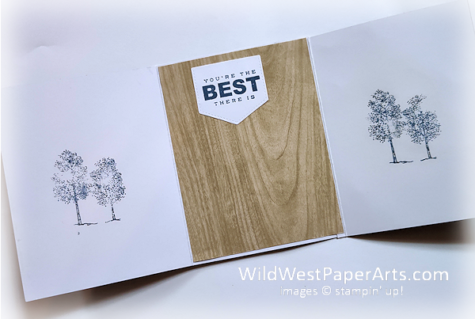
- Stamp trees (if desired) on inside left and right flaps.
- Create the front of the card:
- Cut the left over brown piece to 3-3/4″ x 5″ to create a mat. Save the brown strips. Center and adhere to the front of the blue card base. Adhere a mountain printed panel to the mat.
- Adhere four blue leaf sprays with liquid glue as shown in the sample.
- Adhere one of the circle “tree” pieces over the leaf sprays with Stampin’ Dimensionals included in the kit.
- Stamp greeting on die cut piece. Adhere to a leftover brown strip from Step 2. Adhere this group to the circle in Step 4.
- Create the right flap front:
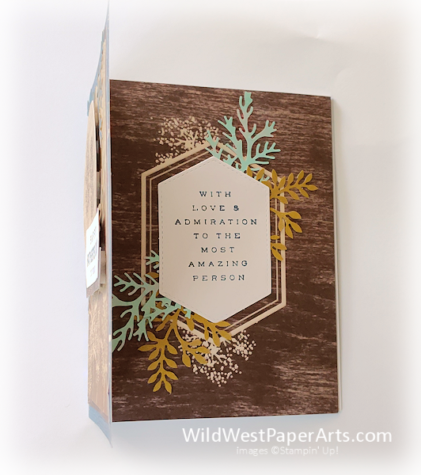
- Stamp greeting on corresponding die-cut piece.
- Adhere four leaf sprays as shown. Two each of two different colors
- Adhere the stamped die-cut piece over leaf sprays
- Create inside of card:
- Cut a 4″ x 5-1/4″ piece from one envelope. Adhere to the inside center of the card base.
- Stamp greeting on corresponding die cut. Adhere as shown.
- Envelope:
- Stamp trees in lower left corner
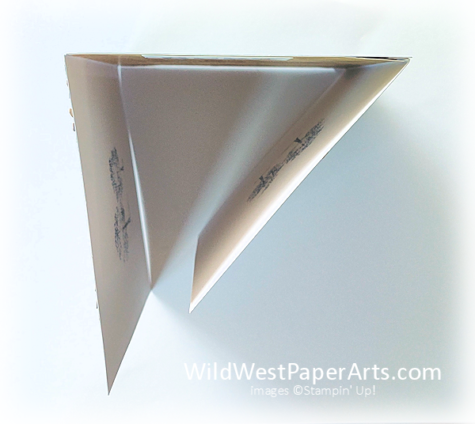
Reference Graphics to Help You
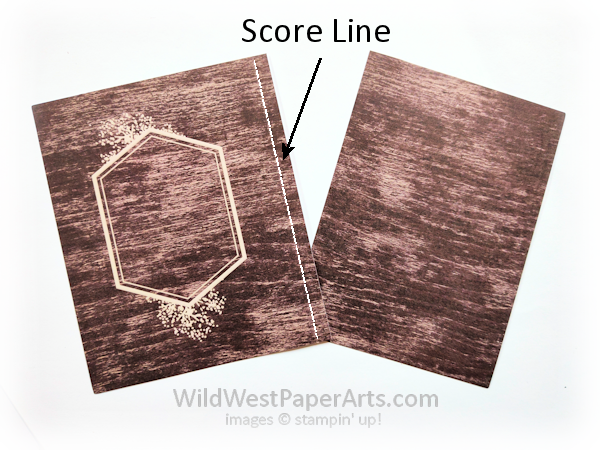 |
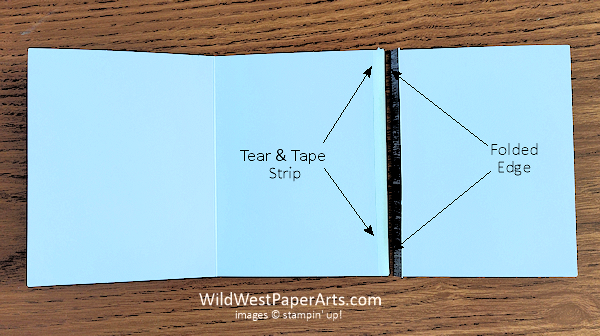 Glue Strip Placement |
 |
 |
Ready to enter the challenge? Keep checking back to see the projects being posted. This challenge closes June 20th.
Clicking here takes you to Creative Creases #84 Challenge Page
Thank you for stopping by today.

Make it a Wildly Creative Day!
Paper Pumpkin “The Best There Is” Product Showcase:


WOW!! Best alternate with this kit that I’ve seen – simply perfect! And I love the fold!
Thank you Mary!
Love this one!!! The fold is great!
Thank you Paula!
Great card, Rae. TFS.
Thank you Karen!
Awesome Father’s Day fun fold, Rae! Very creative to use the Paper Pumpkin set like this! The colors, papers, stamping, and die cuts make such a great masculine card! Those are always a challenge for me, but I need to get to work on my Father’s Day cards, too! Thanks for the inspiration!
Thank you Carrie. I love my kits!
Aren’t you creative!? I love how you made this fun fold entirely from the kit! This kit is perfect for the guys in our life. And who doesn’t need more natural papers in their collection? I always stock up when we offer them. Hope you have a wonderful weekend, my friend!
Thank you Debbie.