Painted Daisy Brochure Fold for Creative Creases #88
Welcome to another Fun-Fold Friday with Creative Creases Anything Goes with a Fun Fold, 88th edition. We look forward to inspiring you, our fellow paper crafters, again this round Come play with us.
Today’s project is a Brochure Fold created with the July 2024 Paper Pumpkin Kit , “Painted Petals”. This is my second alternative card with this beautiful box of supplies.
Fair warning, this is NOT a project to extend the number of projects you can get from your kit. It IS, however, inspiration to elevate your kit to a WOW status.
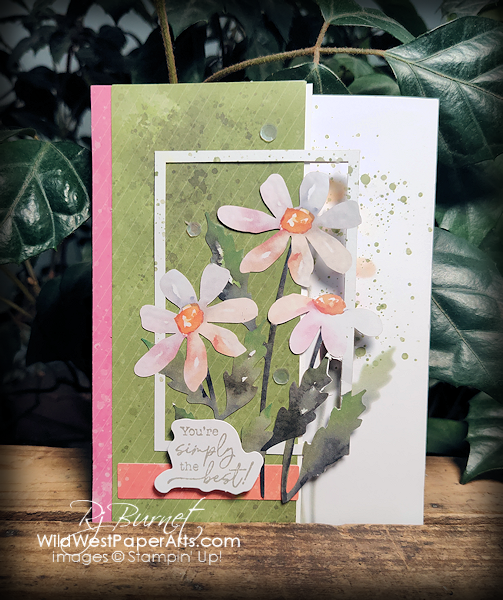
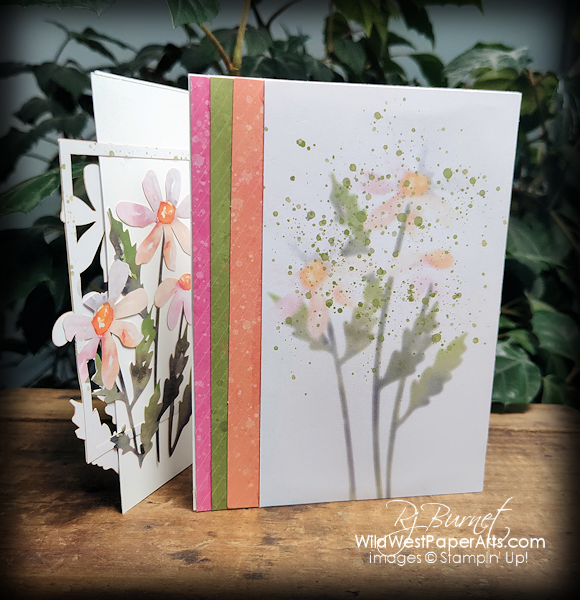
The left panel of this Brochure Fold is narrower than the right, a perfect place to showcase these die-cuts.
Let’s get started.
Nuts & Bolts
To make this exact card, you will need a July 2024 Paper Pumpkin Kit “Painted Petals” plus one sheet of Basic White Heavy Cardstock.
Paper Cuts
- Card Base: Basic White Heavy Cardstock 5-1/2″ x 11″; score at 4-1/8″ and 8-3/8″ on long side
- Pink Layers: 1/2″ x 5-1/2″ (cut 2)
- Green Layers: 2-3/8″ x 5-1/2″ (cut 1); 1/2″ x 5-1/2″ (cut 1)
- Orange Layer: 3/4″ x 5-1/2″ (cut 1)
- Daisy Faded Layer: 3-1/4″ x 5-1/2″
- Daisy Inside Right Panel Image: Fussy cut from envelope
- Two Daisy Die-Cut Panels (no cutting needed)
- White Die-cut for stamping and orange rectangular die-cut
Construction
- Front Panel:
- Adhere one pink panel to far left edge of front panel.
- Adhere large green panel lining up the right edge with the right edge of the front panel.
- Adhere one Daisy Die Cut to front.
- Line up and adhere the second Daisy die cut underneath the die cut in step 3.
- Adhere orange die-cut rectangle to card front as shown.
- Stamp greeting on corresponding die cut piece. Adhere with mini-stampin dimensionals as shown.
- Affix three sequins.
- Right Panel:
- Adhere second Pink Layer to the far left edge of the panel.
- Adhere small green panel over pink panel as shown.
- Adhere the orange panel atop the green panel as shown
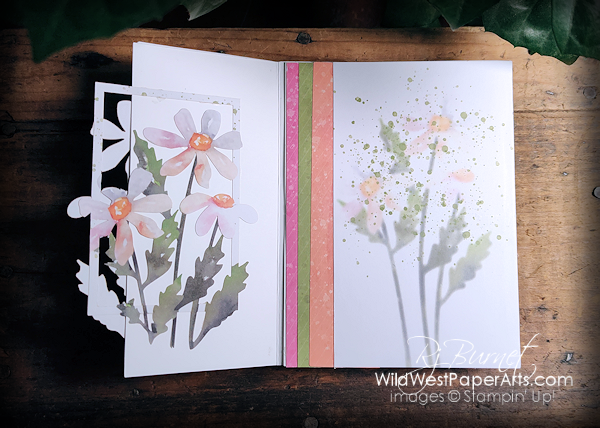
- Adhere the Faded Daisy layer atop the green panel lining up the left edge to the left edge of the panel
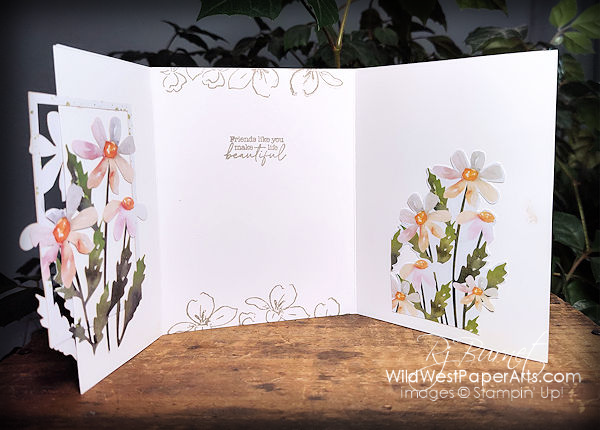
- Adhere the Fussy Cut daisies to the inside right layer
- Inside Center Panel:
- Stamp partial floral image at top and bottom
- Stamp desired greeting
Now, wasn’t that easy? Here are a few more shots of the card being opened.
 |
 |
Try Paper Pumpkin!
Becoming a Paper Pumpkin Member has it’s benefits. You have the opportunity to purchase refills of kits you really like, past kits, and add-on’s, when available.
Try it for one month or purchase a 3-montn, 6-month or 12-month prepaid subscription. Cancel or pause at any time.
Paper Pumpkin Prepaid Subscriptions
Click here to leave a comment or just to say “Hi”
Ready to enter the challenge?
Keep checking back to see the projects being posted.
This challenge closes August 16, 2024.
Clicking here takes you to Creative Creases #88 Challenge Page
Thank you for stopping by today.

Make it a Wildly Creative Day!



Great ideas.
Thank you Valerie!
VERY cool – and just gorgeous with those stunning florals from the Paper Pumpkin kit – SO clever!! I love it!
Thank you Mary. Love to use these kits!
Rae, this is such a gorgeous card! You’ve turned the Paper Pumpkin kit into a very special card with all those pretty flowers and that sweet sentiment!
Thank you Carrie. A labor of love.
Love this card! It’s beautiful!
Thank you Paula. We’ll be making this card on Aug 7th.
What a beautiful card, Rae! I love the fold you used and will have to try it. This Paper Pumpkin kit is probably the prettiest one ever! Wish they would make it available again because I missed out on the refills. Hope you have a wonderful weekend, my friend!
Thank you Debbie. I’ve seen so many beautiful ideas for this kit.