Double Flap of Kindness for Creative Creases #89
Did you know? Creative Creases Challenge has a new “Anything Goes with a Fun Fold” every other week? And this is the “every other.” That means you have two weeks to be inspired by the Design Team and the incredible entries in the gallery…. then to come up with your very own entry. We love to inspire you.
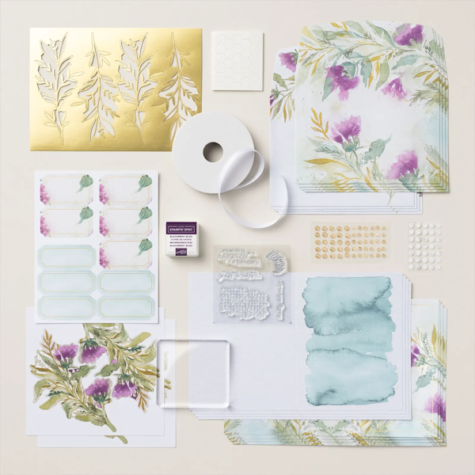
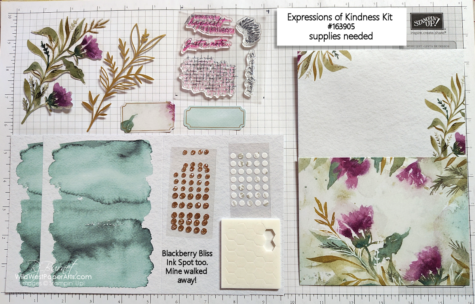
My project this challenge is called a Double Flap card. It’s created almost entirely from the “Expressions of Kindness Kit”. More on that later.
My favorite element of this fold is the middle panel. Why? Because it can be used in so many ways. Here are just a few…
- Attach a photo
- Create a Gift Card holder
- Insert a wonderful sentiment or inspirational quote
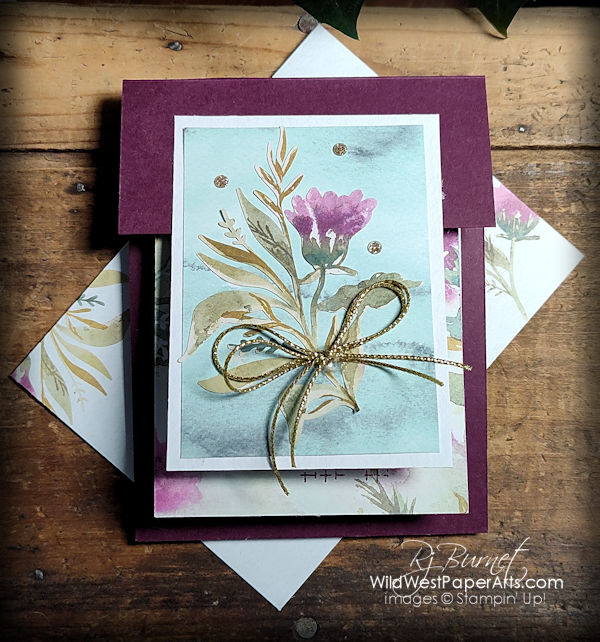
Looking from the top down it looks like a normal flap card. The side views show the fun of this fold.
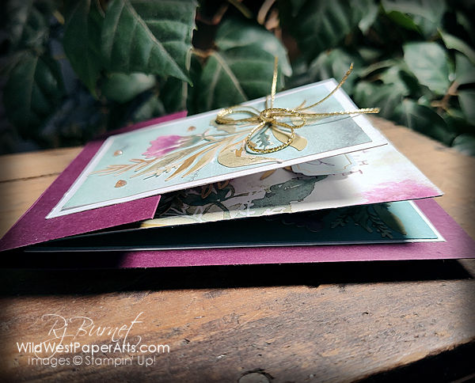 |
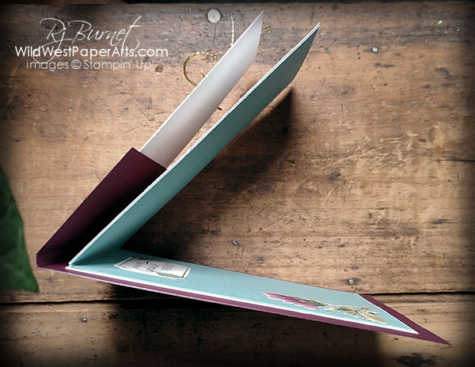 |
See what I mean?
Let’s look at the individual flaps.
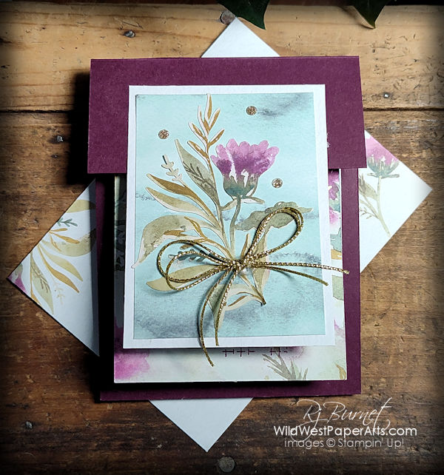 Top (Flap 1) |
|
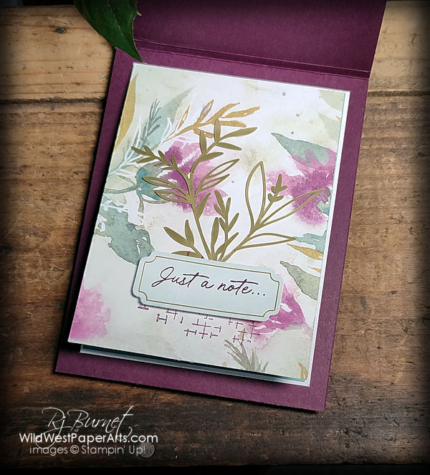 Flap #2 |
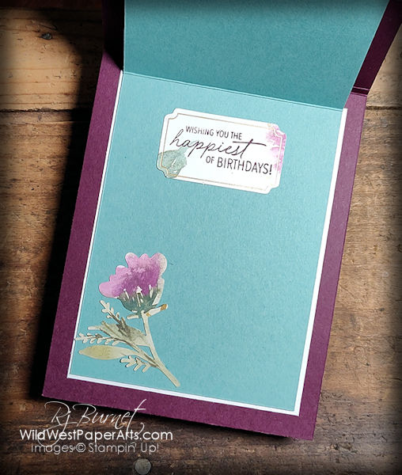 Base |
Beautiful kit, right? Look at those colors!
Nuts & Bolts
Size: A2 (4-1/4″ x 5-1/2″)
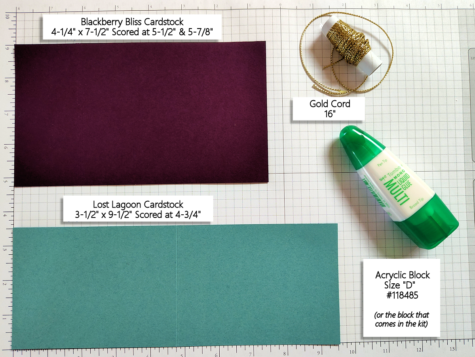
Gather Supplies:
Paper Cuts:
These cuts are representative of a Double Flap card using any paper you like.
- Card Base: 4-1/4″ x 7-1/2″ score at 5-1/2″ & 5-7/8″ (Blackberry Bliss CS)
- Top Flap: 2-3/4″ x 3-3/4″- Cut 1 Lost Lagoon Watercolor look Card. Use the back of the card for the Top Flap Mat
- Top Flap Mat: 2-7/8″ x 3-7/8″ – Use the back of the card cut above for this cut.
- Middle Flap Top: 3-1/2″ x 4-3/4″ – This is cut from one of the envelopes.
- Middle Flap: 3-1/2″ x 9-1/2″ score at 4-3/4″ (Lost Lagoon CS)
- Inside Mat: 3-5/8″ x 4-7/8″ – This is cut from a second Lost Lagoon Watercolor look Card. You can substitute Basic White for this layer.
Construction:
- Fold and burnish Card Base on both scores. You’ll create a box effect to make room for a photo or gift card on Flap 2. If you decide to use only one score, make it at the 5-1/2″ mark.
- Fold and burnish Middle Flap piece. Set aside.
- Adhere the Top Flap piece to the corresponding Mat piece. Affix to the Card Base Front Flap about 1/2″ down from the top with Liquid Glue or Tear & Tape. Decorate Top Flap.
- Adhere Inside Mat to the back of the Middle Flap. Adhere the Middle Flap Top piece. Decorate.
- Adhere the Middle Flap Assembly to inside of the Card Base.
- Decorate the inside.
And, now that I’ve typed the instructions, I see that I need a video! That’s confusing!
Click here to leave a comment or just to say “Hi”
Ready to enter the challenge?
Keep checking back to see the projects being posted.
This challenge closes August 29, 2024.
Clicking here takes you to Creative Creases #89 Challenge Page
Thank you for stopping by today.

Make it a Wildly Creative Day!
Double Flap of Kindness Product Showcase:

Your card is lovely. Thanks for sharing.
Thank you Lynne.
I love this sketch and your beautiful card. I’d like to make one from the sketch, but am having trouble following the directions. Have you made a video with this sketch? Thanks, Brenda West
I love this card sketch and your beautiful card. I’d like to case it, but the directions are a little hard to follow. It’s probably just me, but have you made a video of this sketch? Thanks, Brenda West
No I haven’t Brenda. Let me see what I can do.
Rae, I, like Mary, love love love this! I haven’t even opened my kit yet. I will be CASEing you.
Thank you Karen. I am beginning to love kids. I like the fact that you have almost everything you need to do something fabulous outside the box.
Oh my! These are stunning cards. I love this kit & especially your creative fun fold cards. I definitely would love a video because I’m confused how to make this card. Oh, but it is so beautiful.
Thank you Cynthia. I completely agree with you regarding the video. I have never done a full-length video before. However I am setting up to do so. Maybe you will be my test subject. Lol. May I email you directly when I have something put together?
Love love love! That kit was gorgeous to start with – and I love how you molded into a stunning fun fold! Thanks for sharing this fold with us!
Thank you Mary!