Creative Creases #95: Oh Christmas Tree

Welcome to another Creative Creases Anything Goes with a Fun Fold Challenge. Can you believe it’s already November? Yikes!
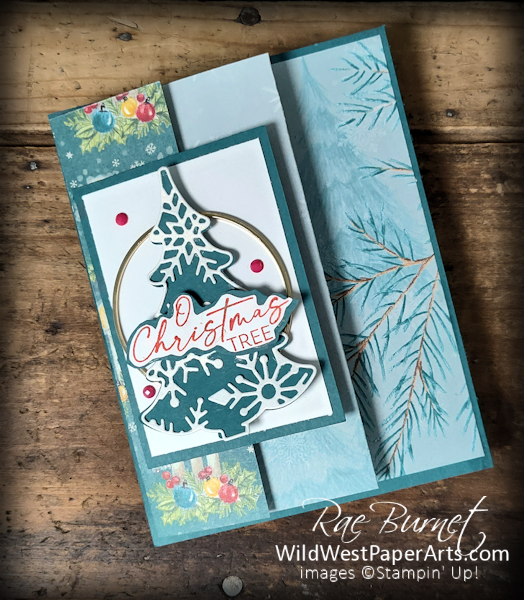
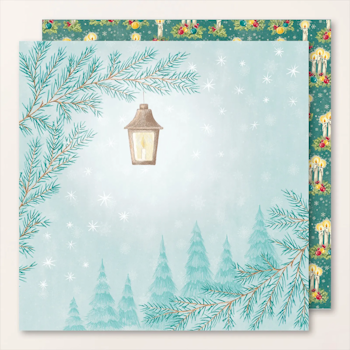
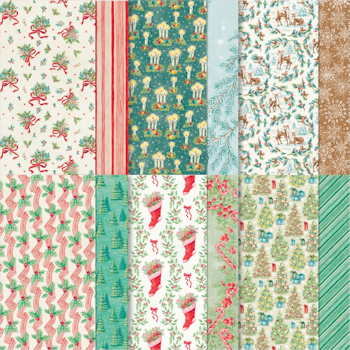
It seems like forever since I’ve had a new project. Sorry about that. Today’s project is a fun-fold that shows off a my favorite piece of DSP in the Sentimental Christmas Designer Series Paper package. Read on to see how this paper supports Children’s Literacy.
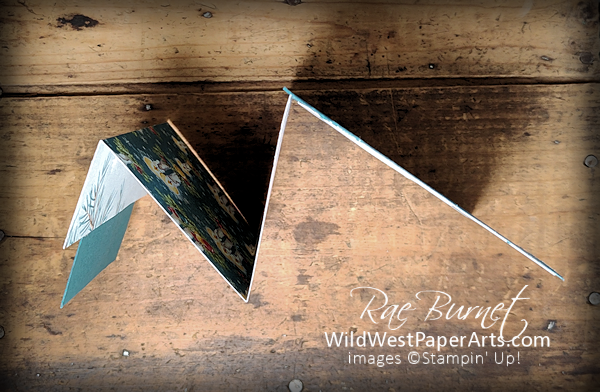
Open the card to reveal the beautiful paper.
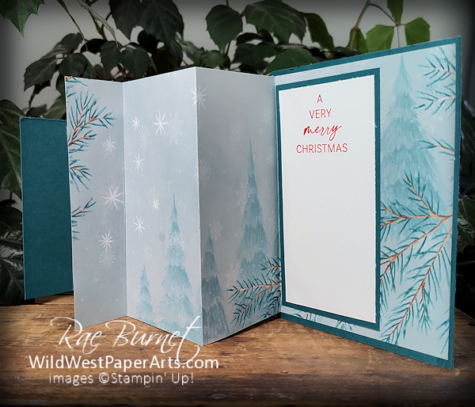
Not only is the Sentimental Christmas DSP beautiful, it also gives you the opportunity to give back. With each purchase of the Sentimental Christmas Designer Series Paper, we’ll donate $3 to support children’s literacy around the world. Now that’s beautiful!
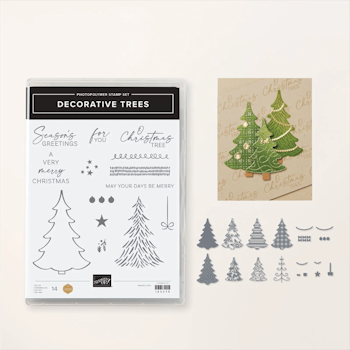
You’ll also need a stamp set and something for your front focal point. The Decorative Trees Bundle is used here. I also found a gold hoop in my craft stash. If you don’t have one, die-cut a circle from Gold Glimmer Paper or Foil Sheets.
Time to get started.
Nuts & Bolts
Paper Cuts
Cardstock:
- Pretty Peacock – 5-1/2″ x 4-1/4″ (1 piece); 3-5/8″ x 4-7/8″ (1 piece); 2-1/2″ x 3-1/2″(1 piece) plus scraps for for greeting and Die Cut
- Basic White – 2-3/8″ x 4-3/4″ (1 piece); 2-1/4″ x 3-1/4″ (1 piece) plus scraps for Die Cut and Greeting. (Optional piece for additional writing on the back: 5-1/4″ x 4″)
Designer Series Paper (DSP)
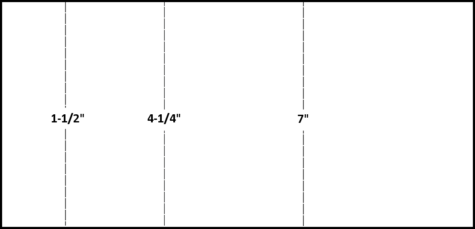
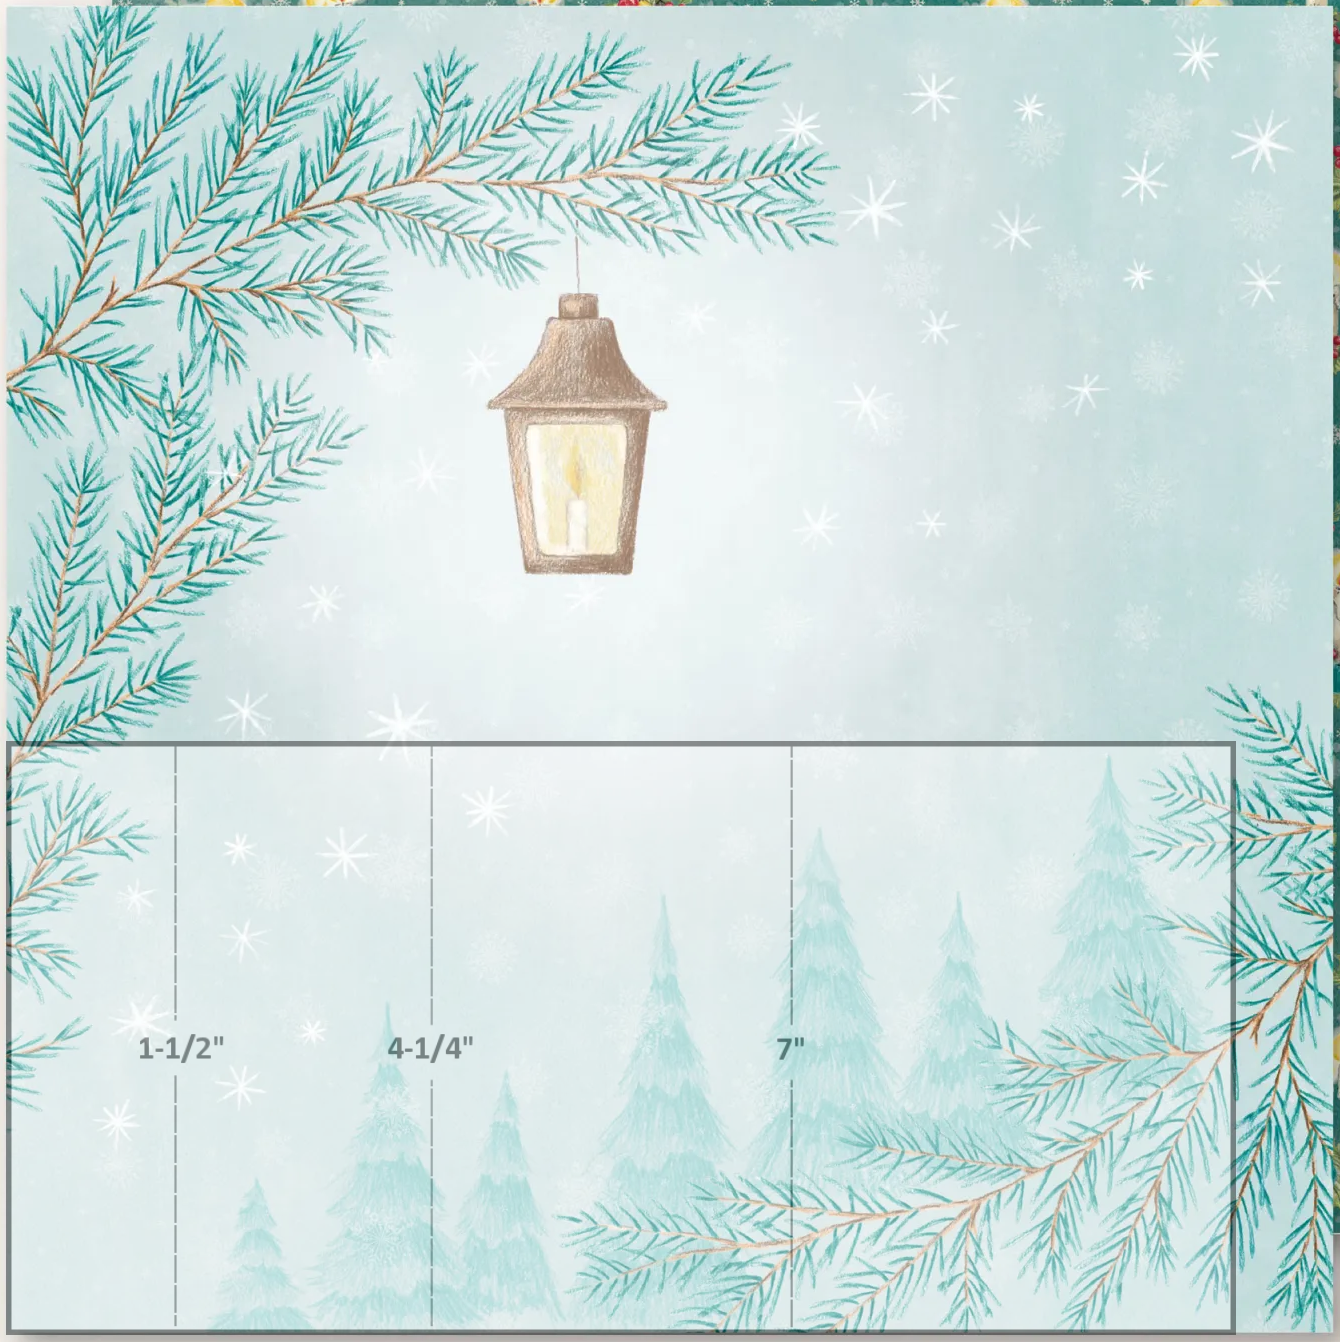
- Sentimental Christmas #164209 – 5-2/4″ x 11″ (1 piece); score at 1-1/2″, 4-1/4″, and 7″ (See Figure Below for scores and placement)
 Click for larger image |
 Click for larger image |
Construction
- Fold all score lines to resemble an accordion. See photo below.
- Adhere the largest Pretty Peacock cardstock piece to the large section of DSP. Make sure the side of DSP you want to showcase is facing up.
- Stamp greeting on largest Basic White in Poppy Parade. Adhere to the medium piece of Pretty Peacock cardstock.
- Adhere the smallest piece of Basic White to remaining piece of Pretty Peacock.
- Die cut tree pieces, assemble and adhere to cardstock piece from Step 4 with Stampin’ Dimensionals. Make sure to place the gold hoop or die-cut piece under the tree before gluing it down.
- Adhere the left half of the focal piece created in steps 4, 5 & 6 to the front panel.
- Stamp the greeting on scrap of Basic White with Poppy Parade ink.
- Fussy cut around the greeting and adhere to the scrap of Pretty Peacock Cardstock.
- Fussy cut around the Pretty Peacock Cardstock leaving a small margin around the white edge. Adhere to the tree with liquid glue.
- Place and adhere gems.
- Optional Writing Panel: Adhere a 5-1/4″ x 4″ piece of Basic White Cardstock to the back of the large Pretty Peacock panel
That’s it for me. Join us in the challenge by clicking below. Even if you don’t enter visit the challenge gallery for great inspiration. Lots of beautiful cards will start to appear thanks to other entries. Time to play!
Enter the Challenge Here
Challenge #95 ends November 21, 2024 at 6:00 pm Eastern.
Click to leave a comment
Thank you for stopping by today.


Beautiful card, Rae! The k you for the template for this pretty dsp!
Thank you Michelle.
Wow – this card has “all the things” for me! Some of my fave DSP – and the bundle – and a wonderful fun fold to show it all off! Love it!
Thank you Mary. I’m with you on the bundle and DSP. Have a great weekend.
What a pretty holiday card, Rae! I always love a fun fold that showcases our beautiful papers. Hope you have a great weekend, my friend!
Thank you Debbie. I can’t resist our beautiful paper.
Hope your weekend is fabulous.
Beautiful card, fold and papers. Fancy folds are always a good way to showcase several lovely papers at once.
Thank you Emma.