Creative Creases #98: Origami Gift Card Holder
 Welcome to another Creative Creases Challenge. Time to flex your create muscles again (as our newest Design Team Member, Lisa put it). If you’re like me, holiday prep is in high gear. Now is the time to press the Easy Button. Whether you’re giving a gift card to a favorite store or handing out little treats, this project will wrap it up sweetly.
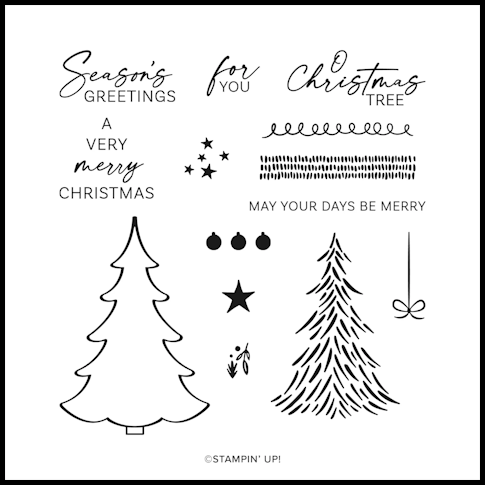
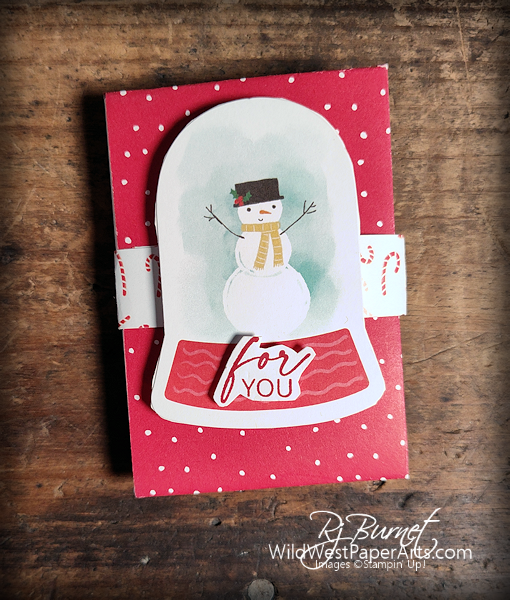 The paper elements used to create this project come from the Snow Days Scrapbooking Workshop Kit. The phrases come from Decorative Trees Stamp Set.
Open it up and find two pockets the perfect size for a gift card and a sweet treat.
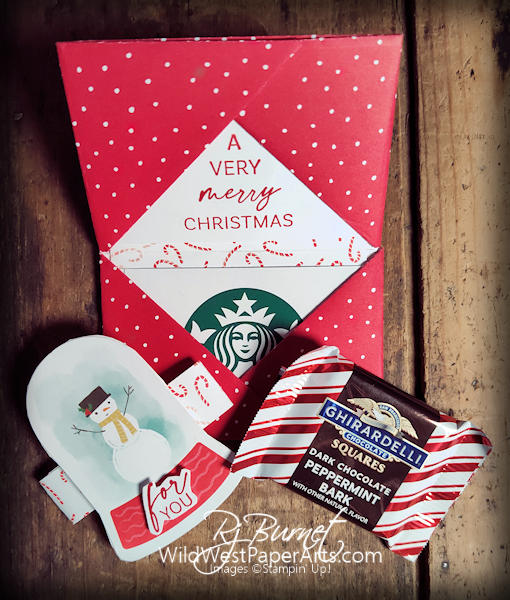
And, if you really want to stuff it full of goodies, you can use the two outside pockets too.
Yesterday in the Wild West, I mentioned that you wouldn’t need any glue. Follow along to see why. Let’s get folding!
Nuts & Bolts
Finished Size:
- Large enough to hold two standard size gift cards.
Paper Cuts:
- Patterned Paper: 8-5/8″ x 9-7/8″
- White Ribbon: 24″
Construction:
- Determine which side you want to see on the outside of the gift card holder. With the outside facing down, fold paper in half (long side). Burnish with bone folder.
- Fold both sides in to meet the the center fold, Figure 1. Burnish with bone folder.
- Open the fold as seen in Figure 2.
- Fold all four corners in toward the folds lines (Figure 3) without actually meeting at the fold. This will help the finished piece fold better. Burnish with bone folder.
- Fold sides in toward the middle as in Figure 4.
- Turn the piece over, Fold up the ends as shown in Figure 5. The ends will overlap. Burnish with bone folder.
- Tuck one side into the other as in Figure 6. This creates the pockets.
- Fold in half and secure with ribbon. Figures 7 & 8. Burnish with bone folder.
 Figure 1 |
 Figure 2 |
 Figure 3 |
 Figure 4 |
 Figure 5 |
 Figure 6 |
 Figure 7 |
 Figure 8 |
Dressed-up Option:
- Insert a liner to hide the inside folds. I used a scrap of paper from the Snow Days Scrapbooking Workshop Kit. It’s on the “Last Chance” list.
- Stamp a greeting on a Basic White Cardstock to insert into one of the pockets
- Create a Belly Band with decoration.
- Use to hold Ghirardelli squares instead of a Gift Card

And, if you really want to have fun, put some goodies in the outside pockets too. Think of this gift card/treat holder as a mini-scavenger hunt. Fun!

That’s it for me. Join us in the challenge by clicking below. Visit the challenge gallery for great inspiration, even if you don’t enter.
Enter the Challenge Here
Challenge #98 ends January 2, 2025 at 6:00 pm Eastern.
Click to leave a comment
Thank you for stopping by today.

Make it a Wildly Creative Day!
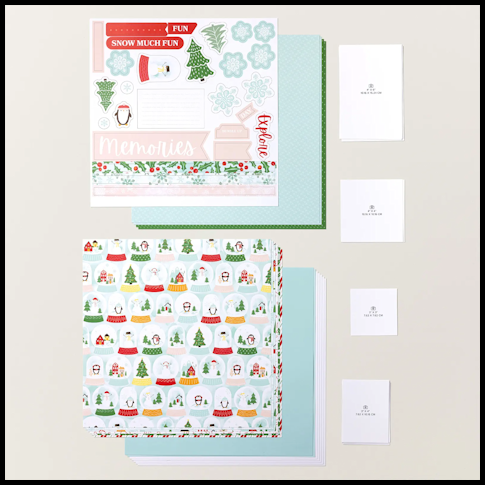
Creative Creases #98 Product Showcase:

SERIOUSLY cute! And I love the great instructions for this treat/gift card holder! Thanks for sharing it, Rae – and hope y’all have a wunnermus Holiday!
Thank you Mary! Merry Holidays to you.
Wow, Rae, no glue, really?? What a wonderful way to give a gift card (or cold hard cash)! I love how you decorated it as well. I hope you have a blessed holiday season and look forward to seeing your beautiful creations next year!
Thank you Debbie. Have a wonderful holiday with that cute grandson and the rest of the family.
Awe – very cute thank you for sharing!!
Thank you Paula!