Irresistible Creases and Folds
Welcome to Creative Creases Challenge #60. We hope to inspire you to try a new fold and share it in the challenge. Thank you to everyone who participated in challenge #59. If you haven’t joined the challenge yet, give it a try. You don’t even need a blog!
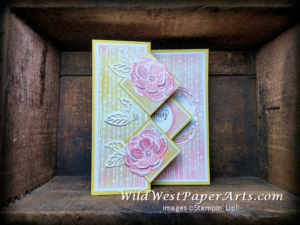
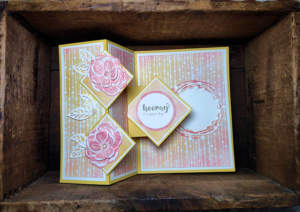
My project today is called a “Pop-Up Z-Fold”. Don’t let it scare you. The hardest part are the cuts. Lot’s of layers. This one is easy to simplify and make your own. Just reduce or omit the mats.
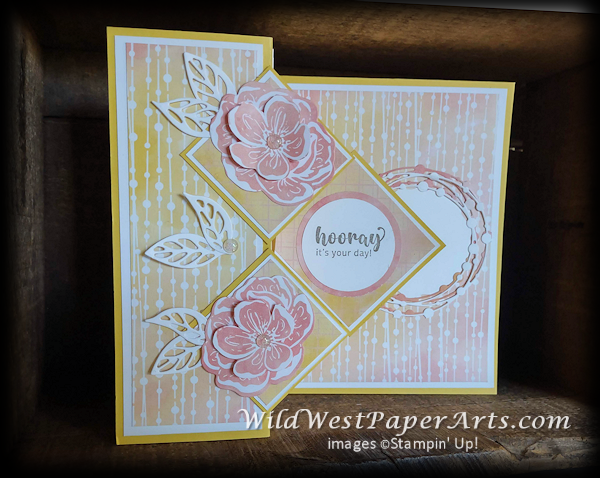
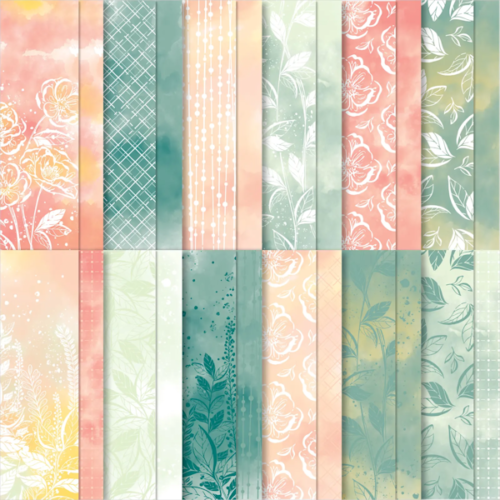
I can’t get enough of this suite of products. It truly is Irresistible. The small designs on the 6″ x 6″ paper are perfect for cardmakers.
Final Size: 5″ x 6-1/2″ Can be adjusted to a more standard size.
Supplies:
- Cardstock: Daffodil Delight #119683; Basic White #159276
- Designer Series Paper (DSP): Hello, Irresistible 6″ x 6″ #161139
- Stamp Set: Irresistible Blooms #161140
- Dies: Irresistible Blooms #161149
- Ink: Gray Granite #147118
(Bundle and Suite information and full list of supplies can be found at the end of this post)
Paper Cuts:
- Daffodil Delight CS: Card Base 10″ x 6-1/2″ (score at 2-1/2″, 5″); Base Mats 2-1/2″ square (1 piece); 2″ square (2 pieces); Support mechanism 2″ x 4″ (score at 1″, 2″, 3″)
- Basic White CS: Mats 4 3/4″ x 6 1/4″ (1 piece); 2″ x 6-1/4″ (2 pieces); 2-1/4″ square (1 piece); 1-3/4″ square (2 pieces)
- DSP: 4-1/2″ x 6″ (1 piece); 2″ x 6″ (2 pieces); 2″ square (1 piece); 1-1/2″ square (2 pieces)
Construction:
- Fold the card base into a Z Fold and burnish well.
- Layer and glue together all mats in this order: DSP (top); Basic White (middle); Daffodil Delight (bottom)
- Line up two smaller squares on the front panel as shown in the photos making sure to line up the points of the diamonds with the fold. Glue down the left half of the diamond to the top fold with a strong adhesive.
- Fold the support structure on score lines, burnish.
- Make pencil marks at 2″ and 5″ on the center fold of the card.
- Attach the support structure with strong glue to the card as follows:
- Glue the right panel of the structure to the card base just to the right of the center fold (between the two pencil marks;
- Glue the left panel of the structure to the card base just to the left of the center fold (between the two pencil marks.
- Glue the largest diamond to the support structure using a strong glue.
- Decorate the card as desired.
 |
 |
| Click pictures to enlarge. | |
Now it’s your turn. Create your masterpiece and share in the challenge by clicking the button below.
Thank you for visiting.…
Have a Wildly Creative Day!



Beautiful fun fold card, Rae! I totally agree with you about this suite. I need to get it out again. I haven’t seen a pop-up on this fold before – what a fun idea! Hope you have a wonderful weekend, my friend!
Thank you Debbie.