
Creative Creases #116: Ferns on an Easel
![]() Welcome to Creative Creases Challenges #116 . Simple or complicated, fun folds are always on the agenda. Get ready to exercise your creative muscle with inspiration from our designers and challenge participants.
Welcome to Creative Creases Challenges #116 . Simple or complicated, fun folds are always on the agenda. Get ready to exercise your creative muscle with inspiration from our designers and challenge participants.
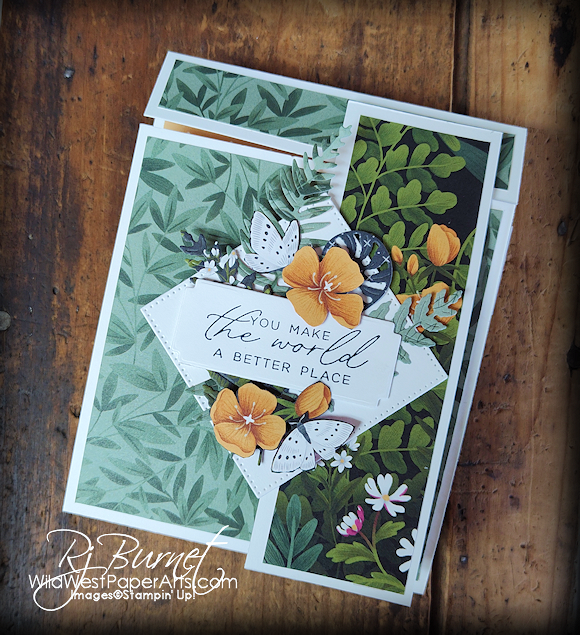
Most of us have seen and maybe even made an Easel Card. They are This one is a little different. The easel mechanism is a bit off kilter, leaving room for a nice focal piece. Ready to give it a try?
If so, we would love to see your creation in the Challenge Gallery. No blog or social media needed. Just click the link toward the end of this post to enter the challenge and upload your card. This challenge runs through July 2nd @ 6:00 PM ET .
Lurkers welcome too. Not ready for the world to see your beautiful creations? No problem. Use the same link to see what the Design Team has created for you. Once you’re there, scroll to the bottom of the page to see what fellow crafters are creating.
Now, “On with the show!”
 Now for the WOW!
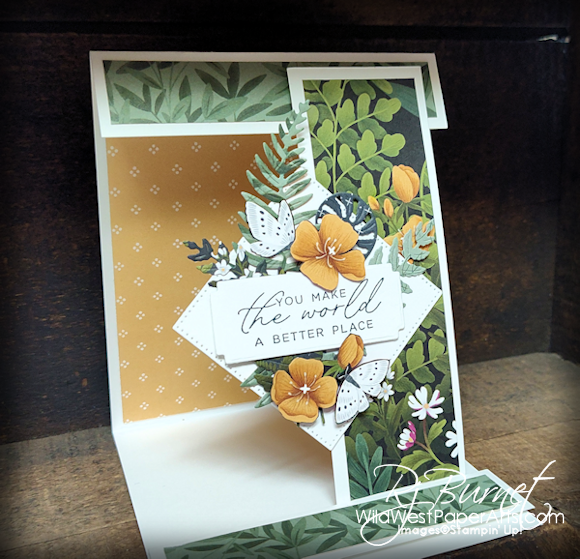
The focal piece makes this card. A combination of fussy & die cutting was used to decorate the focal piece. All cuts were made from the beautiful Designer Series Paper.
Finishing touches. When everything was said and done (or so I thought) this little square piece of DSP appeared. Just the perfect size to jazz up the back of my focal piece.
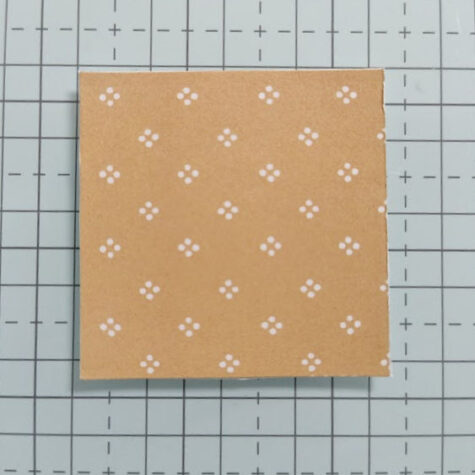 Orphan piece |
 And done! |
Now we’re finished.
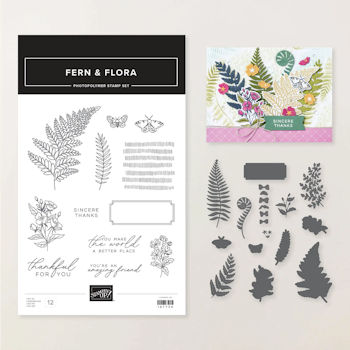 Fern & Flora Bundle #167745 |
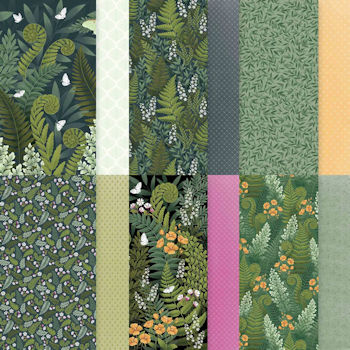 Moonlit Flora 12×12 DSP #167737 |
What I Love: The rich greens and luscious foliage that create the patterns of this beautiful paper. And, of course, those sweet little butterflies.
Let’s get making!
Basic Nuts & Bolts
All measurements are in inches.
Finished Size – A2 (4-1/4 x 5-1/2)
Acronyms & Jargon
- CAS = Clean And Simple
- CASE = Copy And Share Everything
- CS = Cardstock
- DSP = Designer Series Paper (aka patterned paper)
- SDSP = Specialty Designer Series paper (specialty patterned paper)
- SIP = Stamp Ink Paper
Paper Cuts
Cardstock
- Base: Basic White 4-1/4″ x 11″; score at 1″ and 6-1/2″
- Basic White 1-3/4″ x 5-1/4″
- Focal Piece – scraps for die cutting
- Easel Stopper – 1″ x 4-1/4″
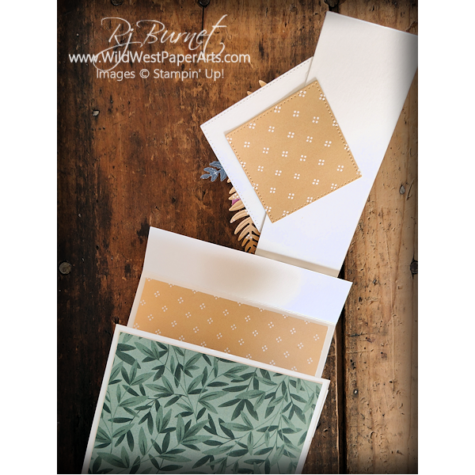
Moonlit Flora Designer Series Paper
- Easel – 1-1/2″ x 5″
- Front Panel – 4″ x 4-1/4″
- Inside Panel – 4″ x 5-1/4″
- Easel Stopper – 3/4″ x 4″
- Scraps for Die Cuts
Dies & Stamps
- Fern & Flora Dies
- Fern & Flora Stamp Set
- Stitched Shapes Dies
Construction
- Score card base according to template below. Burnish all score lines.
- Adhere DSP to appropriate panels
- Attach assembled front flap with three dimensionals at the top only.
- Create Easel Stopper. Attach with dimensionals with the bottom edge about 3/8″ from bottom edge of card.
- Build the focal image. I used a square from the Stylish Shapes Dies and dies from the Fern & Flora bundle. Attach with strong adhesive on the right side of the image only.
- Share with someone special.
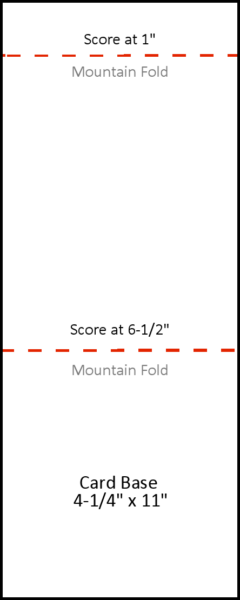
Click to print the template
Click for more inspiration or Enter the Challenge
Before you go, please consider leaving a comment on our blogs. We love to hear from you.
Click to leave a comment.
Have a wildly creative day!


Click to shop 24/7!
Product Showcase:
Rae, this card is so unique and beautiful! That Fern & Flora bundle is lovely, and this fold really shows it off!
Thank you so much Carrie.
Love this card!!!
Thank you Paula. We’ll be making this in the Freestylers Club soon!
Is it possible to get the template for Creative Creases #116: Ferns and an easel? Love the card and would like to CASE it.
Thanks,
Diane McKern
Thank you Diane. I’ll get one posted this weekend.
Wow, Rae! This easel card is gorgeous! I love the fun fold, and you have pushed it to the top of my list of folds to try. Your easy instructions make it foolproof, so thanks! Have a great weekend, my friend.
Thank you so much Debbie. A comment from the “master” is so appreciated.
I love, love, love this beautiful and unique Easel Card!!! This DSP and the Fern & Flora Bundle are one of my all time favorites!!!
Thank you Sue. I’m with you on this DSP. I can’t get enough of it!