Punch Art with Pals

Welcome to the Stampin’ Pretty Pals’ Blog Hop!
This month, the theme is Punch Your Art Out. We really hope that you will be inspired by all the amazing creations the Pals are sharing with you! Then, you will find the lineup at the end of my post to help you “hop” along from Pal to Pal.
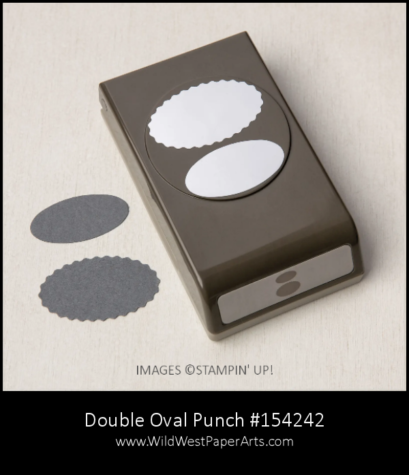
Autumn is just around the corner. It’s time for pumpkins and spice. Just ask any coffee shop. To celebrate I made punch art pumpkin gift tag. I think pumpkins are my favorite things to punch. So easy… just three ovals, a couple of leaves and a stem.
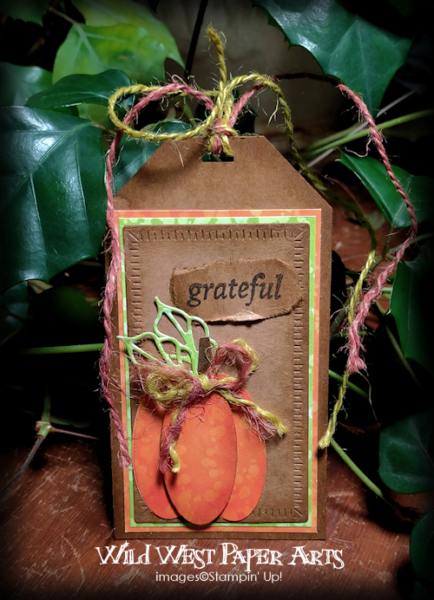
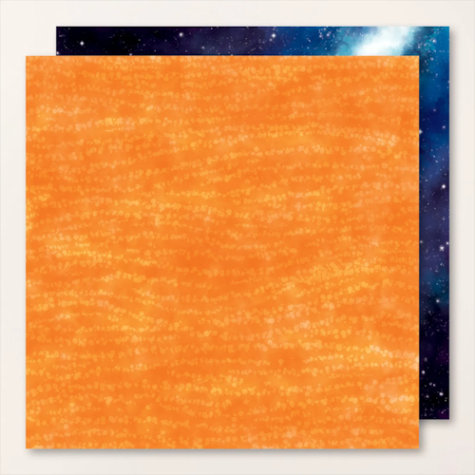
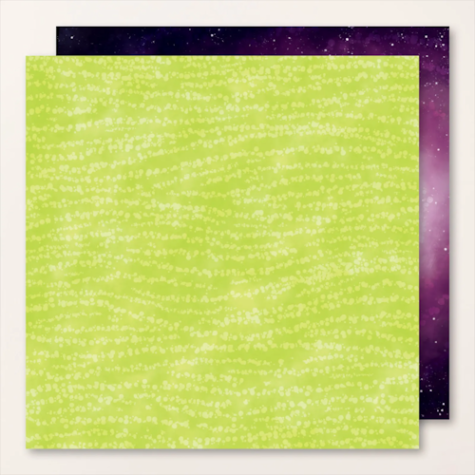
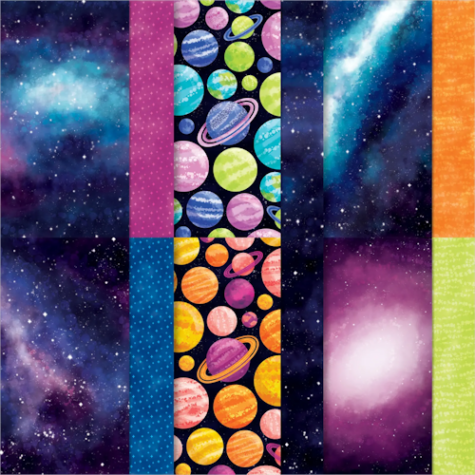
I almost passed on the the Stargazer Designer Series Paper. The beautiful colors in the night sky pieces sold me. Looking a little closer I noticed the orange and green sheets. Perfect for my little pumpkin and greenery! So glad I took the chance.
 |
 |
 |
|
| Stargazer Designer Series Paper #161175 | |
Who would have thought this heavenly paper would work for a distressed autumn gift tag.
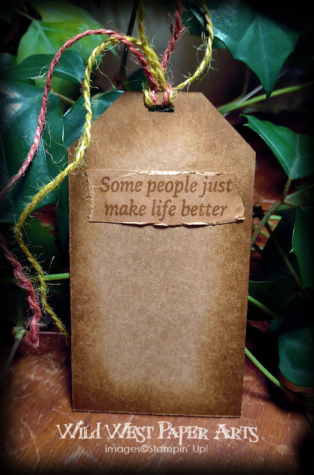
The dilemma to leave the back blank or not is a deep, philosophical question. Hmm, just a little phrase or something sweet would be just right. The phrase “Some people just make life better” from “Cottage Wreaths” stamp set seemed like a good fit.
Nuts & Bolts
- Start with two pieces of Kraft Cardstock cut from one of the Kraft Note Cards – 2 x 3-1/2
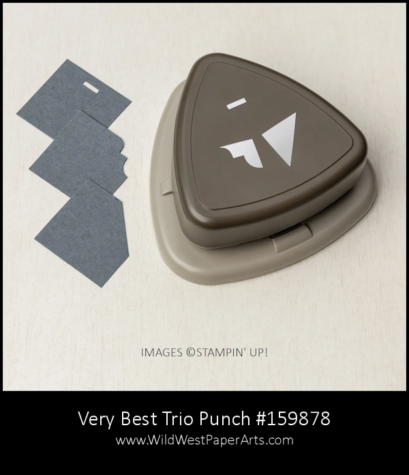
- Snip off the corners and punch the center hole on one of the kraft pieces with the Very Best Trio Punch
- Use the smallest rectangle die from the Radiating Stitches Dies to cut the second piece of cardstock
- Sponge all edges with Pecan Pie Classic Ink. Don’t forget the back of the tag too.
- Cut two mats from DSP using the die cut piece as a guide. (see photo). Layer all pieces and glue together.
- Punch three ovals from the DSP for the pumpkin. Sponge with Pumpkin Pie Classic Ink. Die Cut leaves. Freehand cut a small stem and sponge all over with Early Espresso Classic Ink.
- Assemble the pumpkin and adhere to the tag. Pop up the center oval with Dimensionals.
- Stamp “Grateful” with Early Espresso Ink on a torn scrap of kraft. Sponge and glue to tag. Stamp the back phrase on another piece of torn scrap kraft. Sponge and glue to the back.
- Cut a 12″ length of Jute Twine from two colors. Separate plies. Tie a bow with one ply of each color. Trim and glue to the pumpkin stem with Multipurpose Liquid Glue. Thread the remaining plies of Jute Twine through the tag hole.
 |
 |
More inspiration awaits, so use the lineup below to visit the rest of the Design Team. Then, please mark your calendars for our next blog hop next month, when our theme will be All Creatures Great and Small.
Until then, have fun in your craft space.
Click to Leave a Comment
Blog Hop Lineup
- Mary Fish at Stampin’ Pretty
- Debbie Mageed at Secrets to Stamping
- Beth McCullough at Stamping Mom
- Mary Hanson at Up North Stampin’
- Windy Ellard at Windy’s Wonderful Creations
- Peggy Noe at Pretty Paper Cards
- Tricia Chuba at ButterDish Designs
- Melissa Seplowitz at The Stamping Ninja
- Rae Harper Burnet at Wild West Paper Arts <——-> You’re right here.
- Lisa Ann Bernard at Queen B Creations
- Pamela Sadler at Stampin Pink Rose
- Stesha Bloodhart at Stampin’ Hoot!
- Su Mohr at Aromas And Art
- Lori Webb at Clever Copies
Thank you for visiting.…
Have a Wildly Creative Day!
Don’t forget to leave a comment. We love to read and respond to them.
Click to Leave a Comment
Punch Art Product Showcase:
What a wonderful autumn tag, Rae! Your pumpkin is a great way to use the oval punch. And I really love that you use the back of the tag for another creative spot to use. Love it!
Thank you Debbie.
Gorgeous tag…love the use of the punches!
Thank you Windy!
Love your fun and rustic tag, Rae!
Thank you Tricia.
What a gorgeous tag, Rae! Love your pumpkin!
Thank you Su.
I love your creative, distressed gift tag Rae! The pumpkin is awesome and I am going to have to give that DSP paper a second look.
Thank you Melissa. I love the little surprises found in Stampin’ Up!s DSP
Love this!!!
Thank you Lillian.