Painted Birthday Wishes with Love and Pals

Welcome to the Stampin’ Pretty Pals’ Blog Hop!
This month, the theme is “Love Is In The Air.” We hope that you will be inspired by the creations the Pals are sharing with you! Then, you will find the lineup at the end of my post to help you “hop” along from Pal to Pal.
You may be asking yourself, “How does this card fit into the theme, Rae?” Easy, birthday wishes are another way to share greetings of love. AND I have a niece who’s birthday is on Valentine’s Day. What’s not to love?
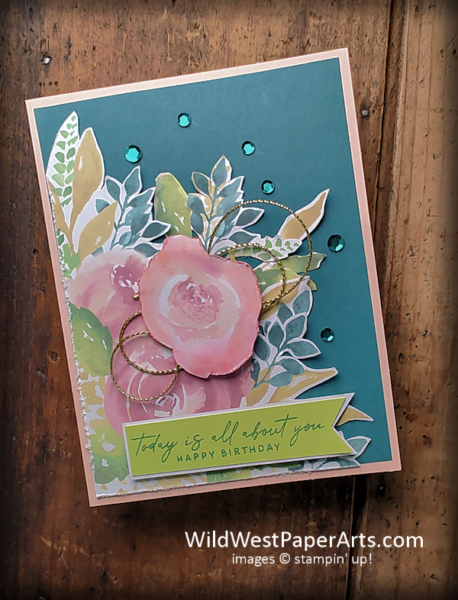
I love, love, love kits. With a little imagination, you can create some great alternate projects, like this one. This kit is the Painted Wishes, all inclusive kit. No stamps, no ink, no dies with this one. It comes with beautiful foiled greetings, ready to use. I used the Notes of Nature stamp set instead. I’ll save “ready-mades” for another project.
Let’s take a look at the kit.
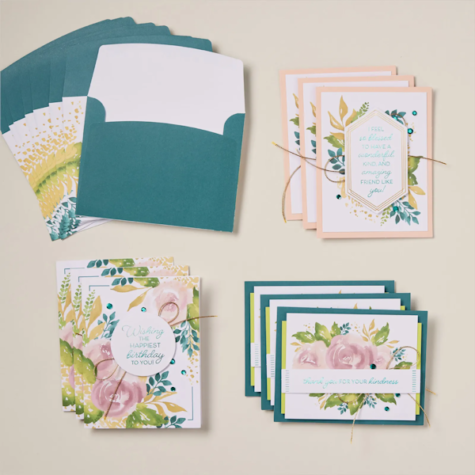 Painted Wishes Kit #163235 |
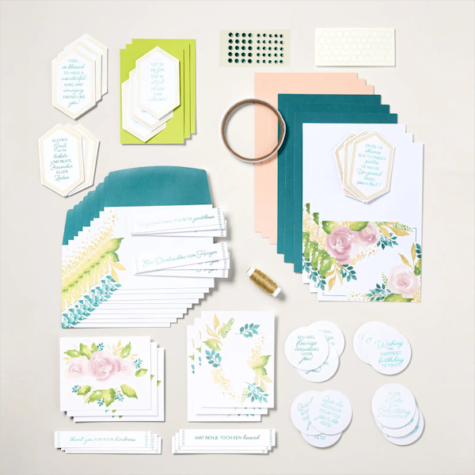 Painted Wishes Kit #163235 Contents |
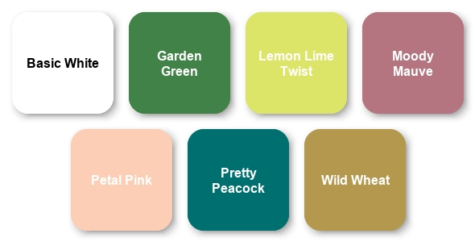
Besides basic tools like Paper Snips and Trimmer, I added the Notes of Nature stamp set, Pretty Peacock ink, Multipurpose Liquid Glue and that’s it.
Nuts & Bolts
Paper Cuts:
- Petal Pink Card Base
- Layer 1 – Pretty Peacock Card Base cut down to 4″ x 5-1/4″
- Floral Layers – Fussy cut both sides of the Floral Card Base.
- Inside Piece – Fussy cut small leaf spray from the landscape floral piece.
Construction:
- Adhere the Pretty Peacock piece to the Petal Pink card base
- Use your Paper Snips to rough up some of the floral layers before adhering them to Layer 1
- Arrange some of the metallic twine included in the kit where the single flower will go. Adhere it with the included Tear and Tape.
- Adhere the single bloom with included Stampin’ Dimensionals.
- Arrange some of the leaf sprays cut from around the single bloom and adhere with Liquid Glue.
- Use one of the included greetings OR stamp a greeting on one of the Lemon Lime Twist pieces in your kit. Trim and Flag the ends.
- Use the white side of the same piece to create a mat for the greeting piece.
- Glue #6 and #7 together with Liquid Glue. Adhere to the card with Stampin’ Dimensionals.
- Arrange and affix sequins.
- On the inside, adhere the leaf spray to the top edge of the card. I used Liquid Glue for this.
Option: Make a pocket. Omit the topmost single floral piece and only glue the left and bottom edge of the large floral piece. You now have a sweet little pocket to tuck in a love note, tag or gift card.
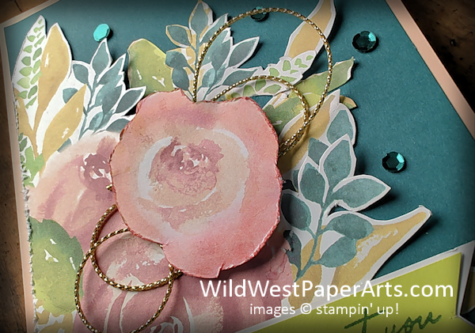
Fussy Cutting Close-Up
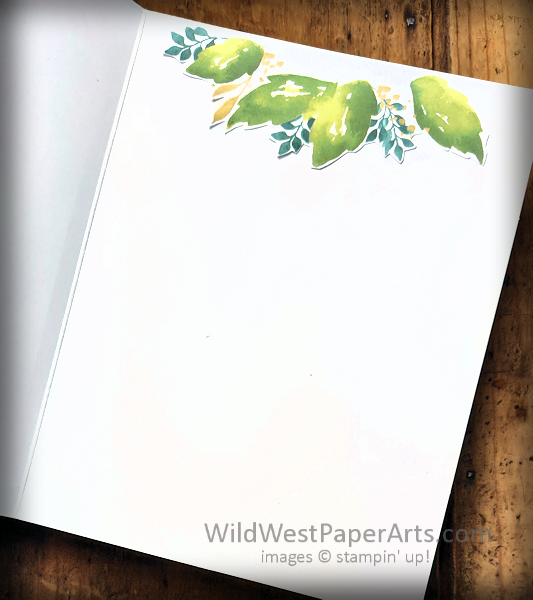
Inside
More inspiration awaits, so use the lineup below to visit the rest of the Design Team. Then, please mark your calendars for our next blog hop next month, when our theme will be “It’s All About The Kids.”
Until then, have fun in your craft space.
Stampin’ Pretty Pals Blog Hop
- Mary Fish at Stampin’ Pretty
- Beth McCullough at Stamping Mom
- Lisa Ann Bernard at Queen B Creations
- Debbie Crowley at expressively deb…
- Peggy Noe at Pretty Paper Cards
- Debbie Mageed at Secrets to Stamping
- Su Mohr at Aromas And Art
- Rae Burnet at Wild West Paper Arts —— You are Here!
- Melissa Seplowitz at The Stamping Ninja
- Tricia Chuba at ButterDish Designs
- Karen Hallam at Karen’s Stamping Habit
- Pamela Sadler at Stampin Pink Rose
- Deb Walker at Deb Stamps Life
- Sue Jackson at Just Peachy Stamping
- Mary Hanson at Up North Stampin’
- Windy Ellard at Windy’s Wonderful Creations
Click to Leave a Comment
Thank you for visiting today.…

Have a Wildly Creative Valentine’s Day!
Painted Birthday Wishes Product Showcase:

Beautiful way to step up the kit pieces.
Thank you Lisa!
Such a gorgeous card Rae! It makes me want to go out and buy that beautiful kit!!
Thank you Melissa…. I think you should.
Beautiful birthday card, Rae! I love how you used this kit. The background really makes it pop!
Thank you Debbie.
I could not place that flower, Rae. Oh, it’s a Kit! Great way to personalize this pretty card kit!
Thank you Karen. Glad you figured out the flower. ?
Such a beautiful take on this kit, Rae! I never would have dreamed it was even a kit!
Thank you Mary.
Sweet card and colors!
Thank you Windy.
What a beautiful alternate project with the Painted Wishes kit Rae!
Thank you Tricia
So pretty, Rae! Love the way you used the kit! Your niece will love it!
Thank you Peggy!
Just beautiful!!!
Thank you Paula!
Special, easy, and beautiful all rolled into one Rae! Terrific to see how you put your own stamp on our hop!
Thank you Deb!
Rae, this is absolutely beautiful. When I saw it, I literally said WOW! It truly is a WOW!
Thank you Debbie.
Wow, Rae! Love what you did with the Painted Wishes Kit!
Thanks a million Su!